You do not have to call or email ZebraHost to request a server upgrade. You can upgrade CPU, RAM, storage, and the number of IPs on your server in just a few clicks in the ZebraHost portal!
Note: You must contact a ZebraHost support specialist to perform advanced upgrades like switching data center locations or upgrading software at the OS level.
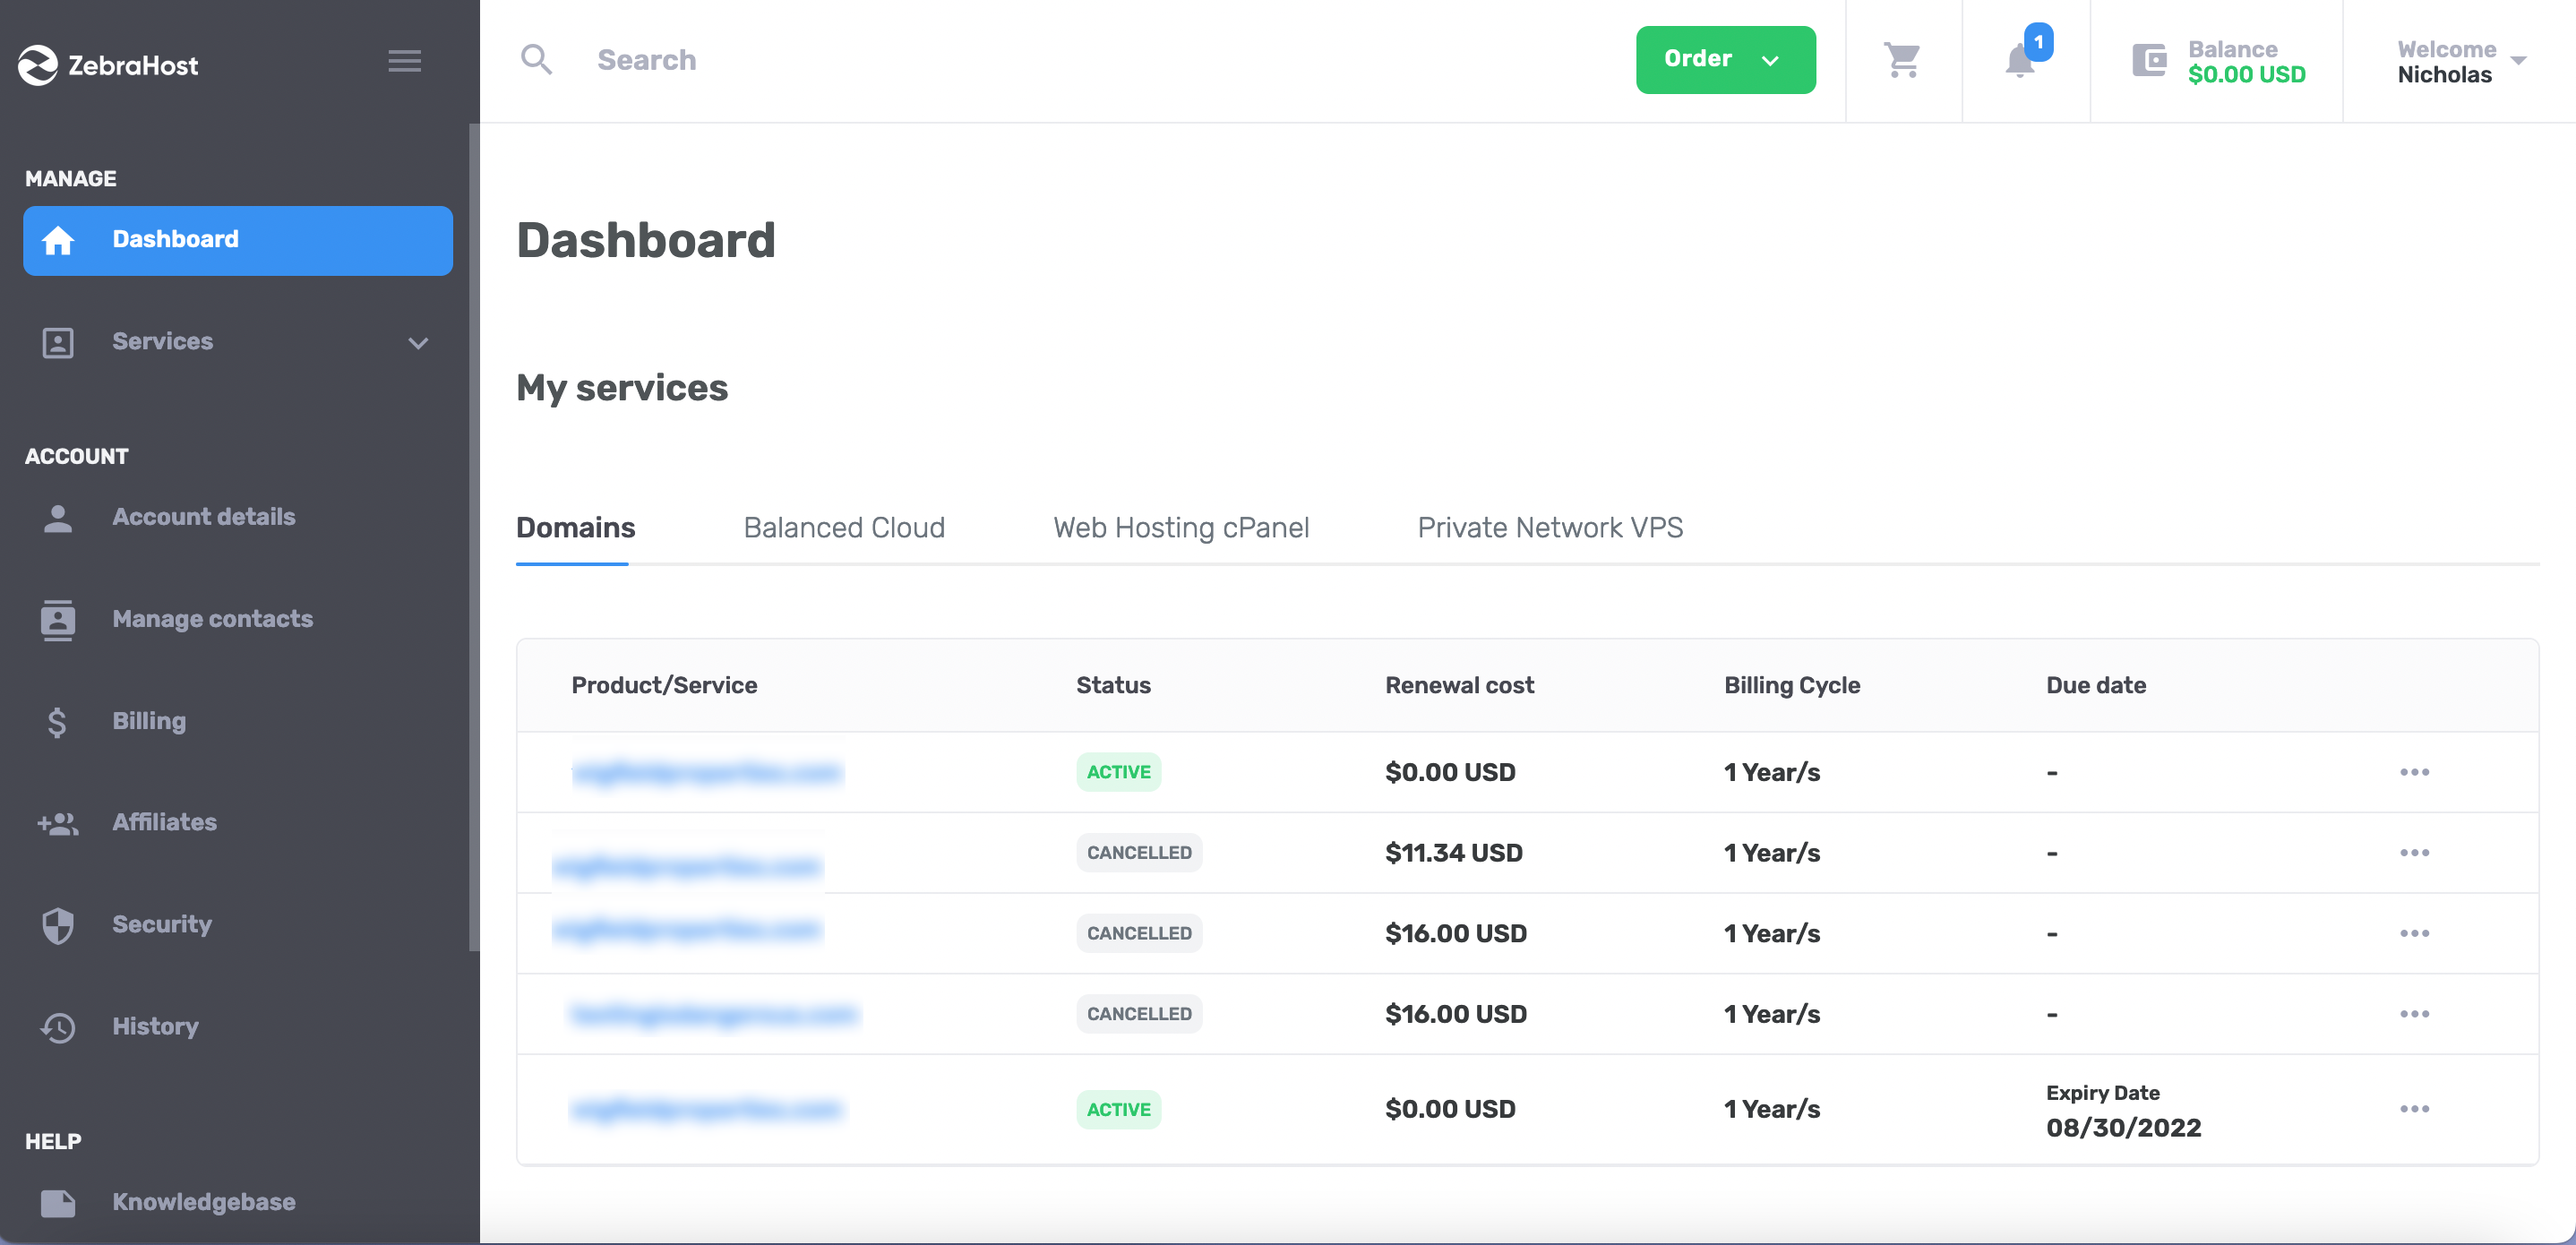
Log into your ZebraHost client portal. After logging in you will be greeded to a dashboard listing your current ZebraHost services.
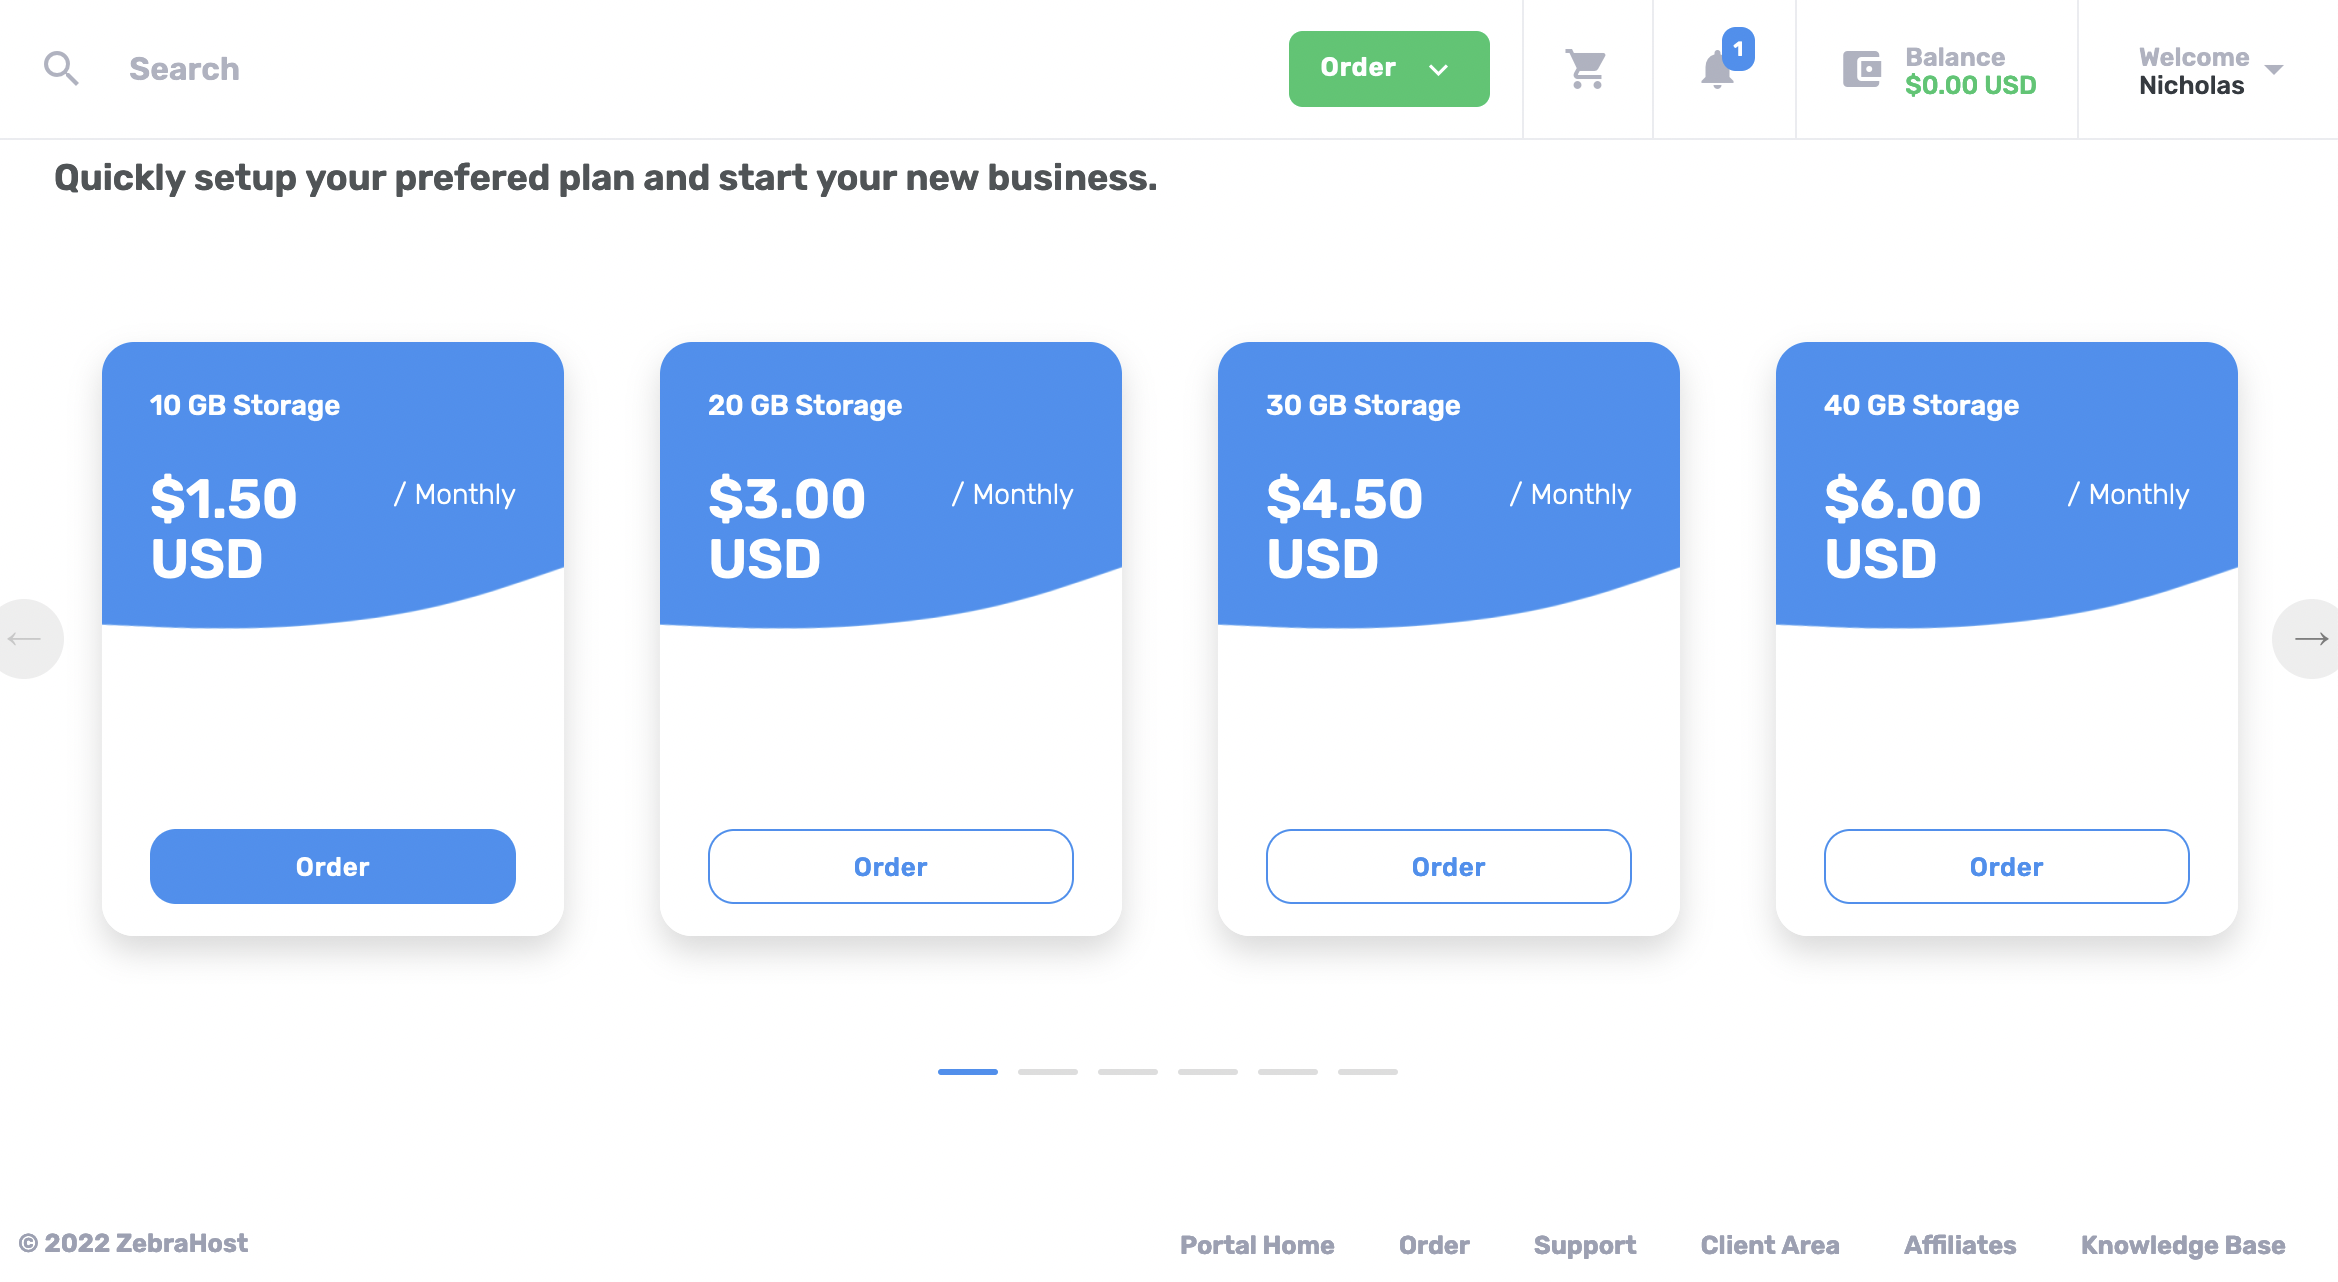
Choose either “Storage Upgrades” or “Spec Upgrades” in the in the Order menu. In this example I am choosing “Storage Upgrades”.
Select the upgrade level you want from the available options.
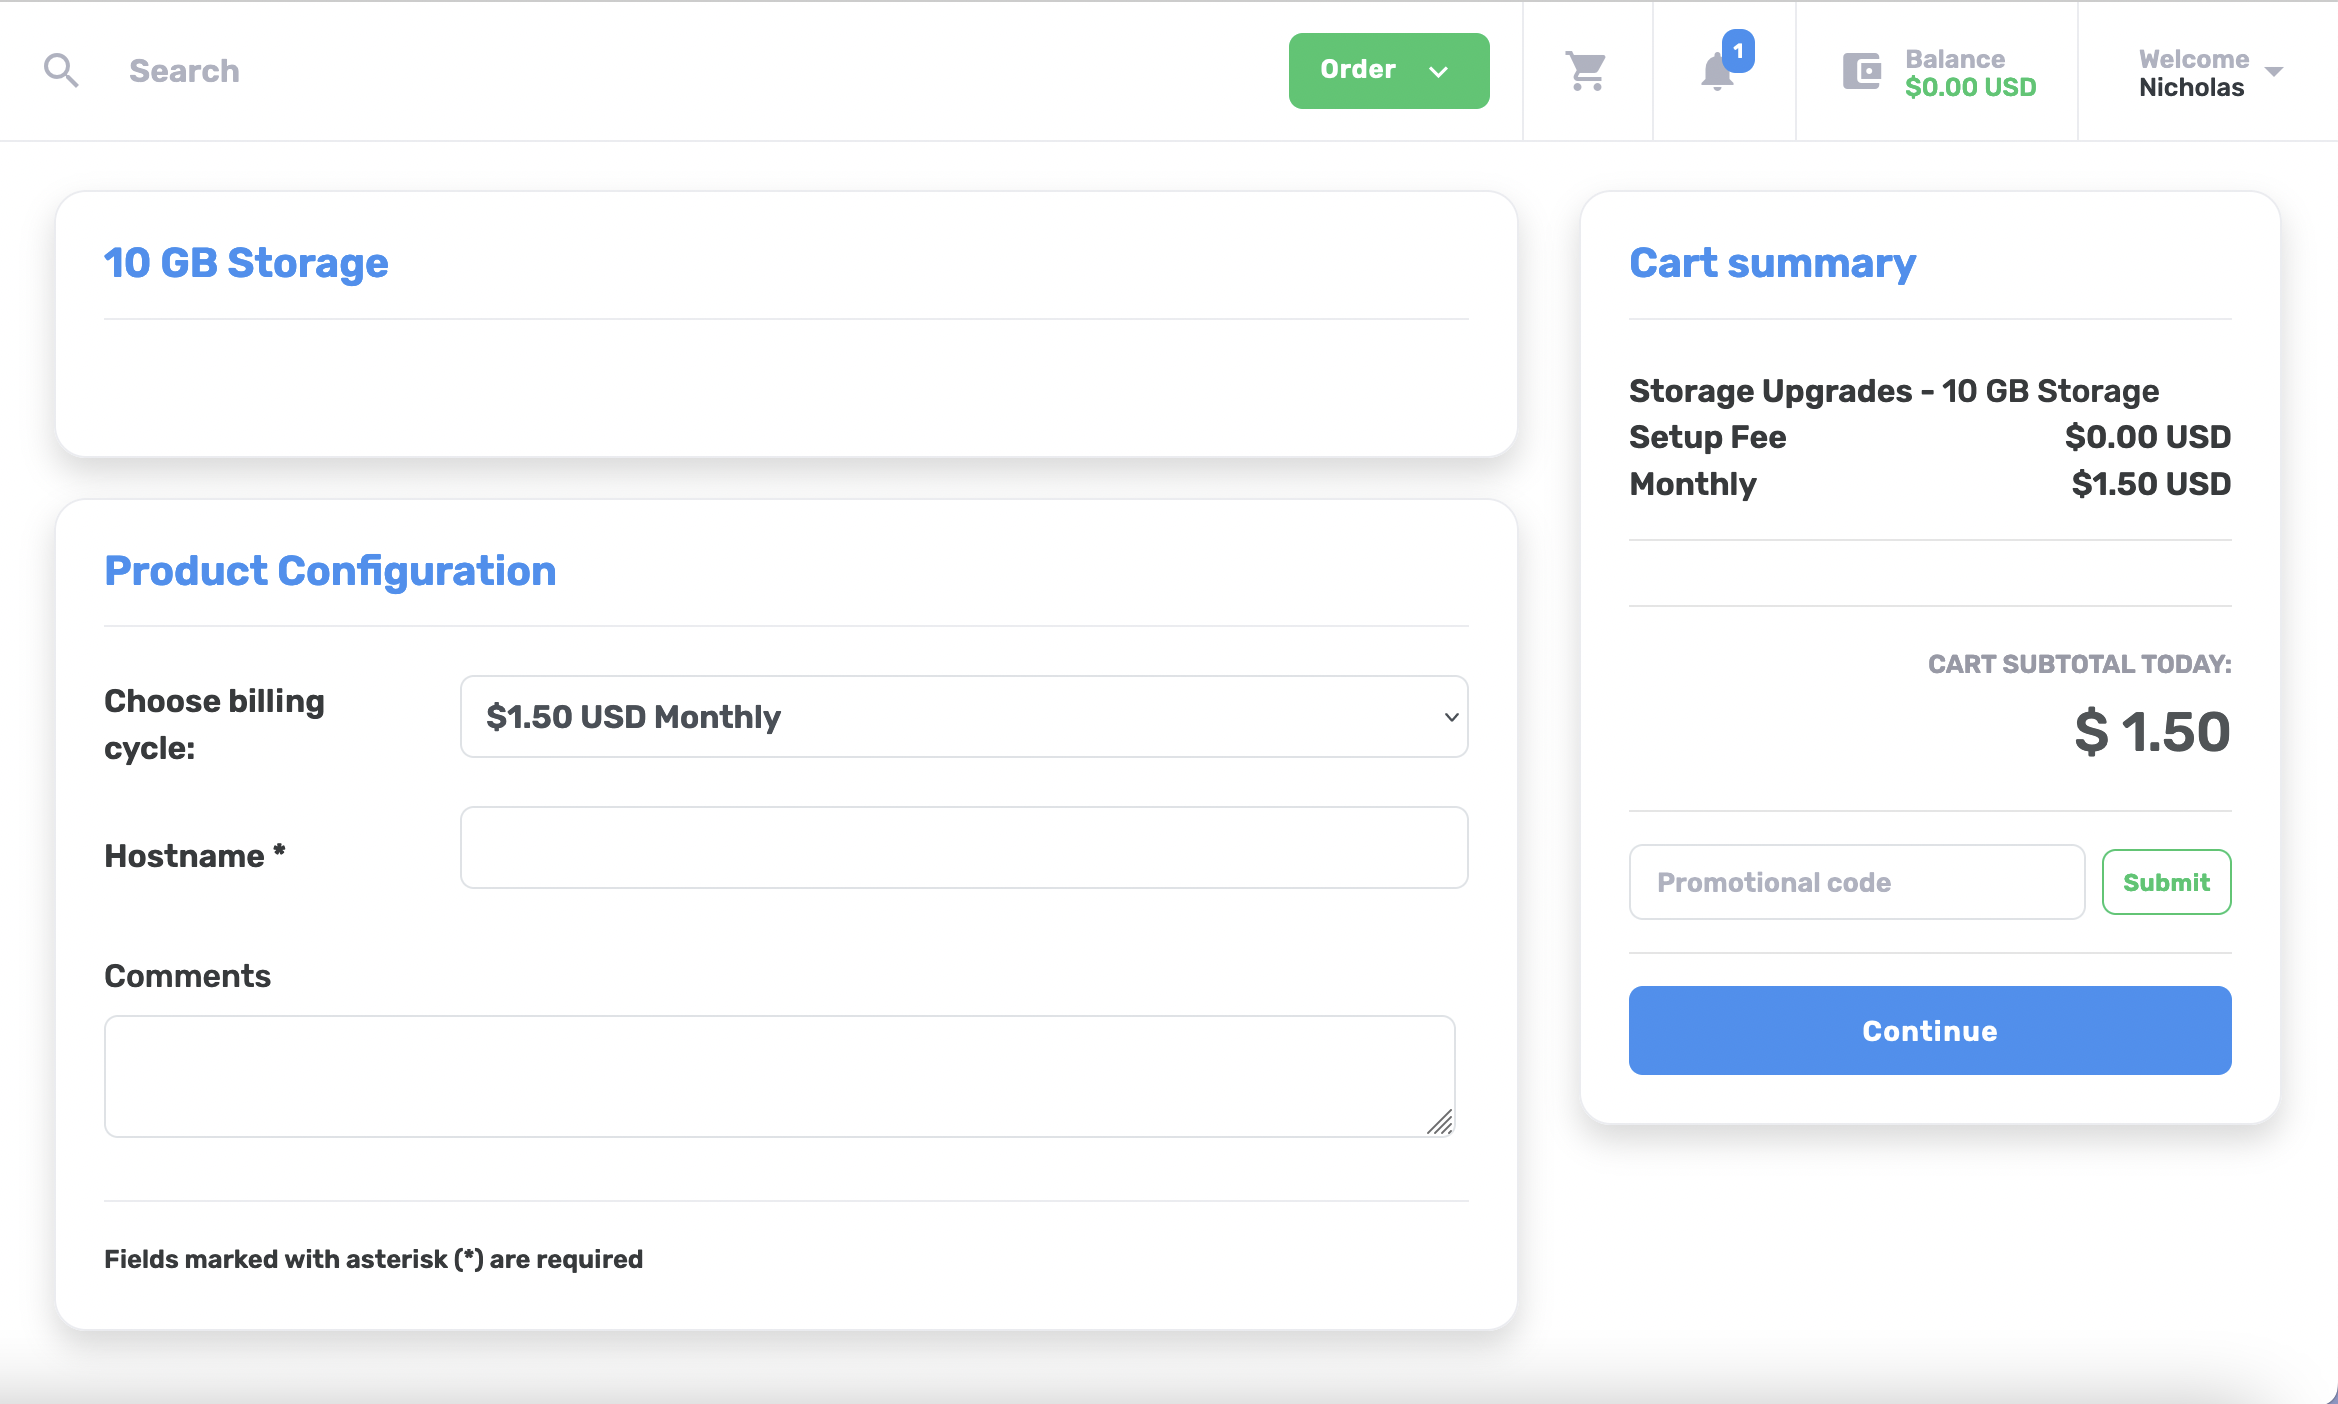
You will now see a summary of option and as well as a place to put in the IP/name of the service you want to upgrade. You must fill in the “Hostname” section because this tells ZebraHost where to perform the upgrade.
When you are satisfied with your selections click “Continue”.
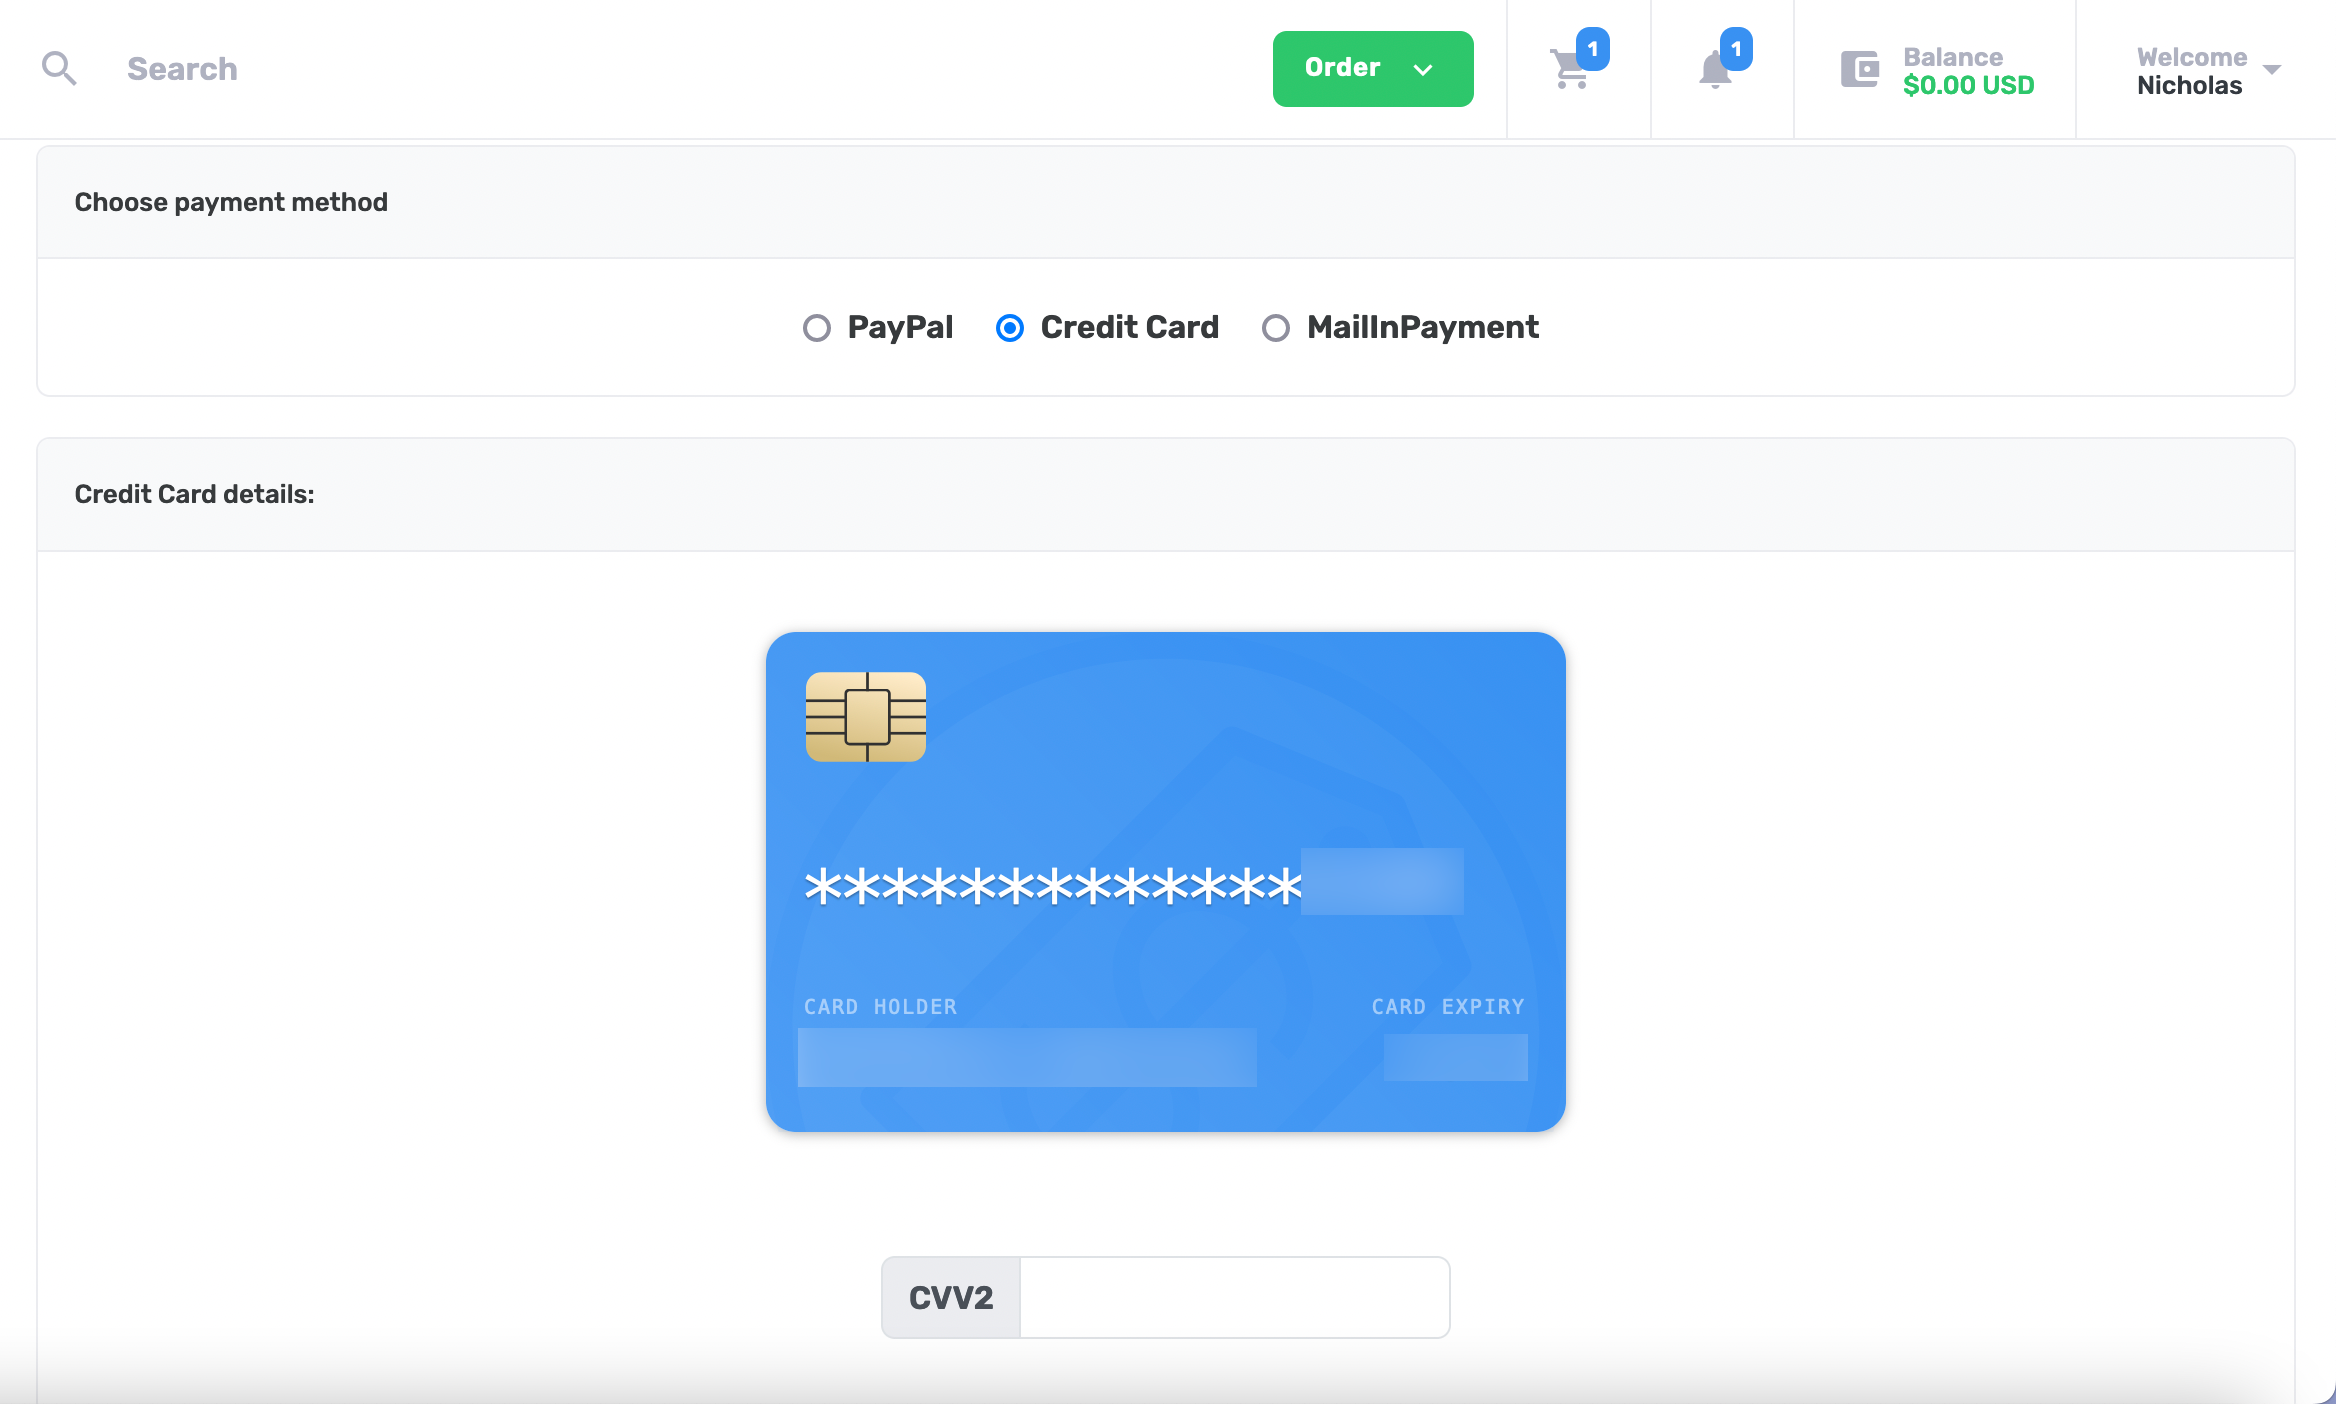
You will be brought to a screen to select your preferred payment method. Select your payment method and put in any details you need. In this example I am using a credit card that i’ve already saved in my account for convenient checkout.
You will be brought to a screen confirming your upgrade and payment method. If all looks ok, click “Checkout”.
Done! You will see a confirmation screen with your order number. A ZebraHost representative will shortly upgrade your service with the specs you chose. Please allow a few hours for this change to take place. If your service needs to be restarted ZebraHost will contact you before making any changes to make sure the upgrade is not disruptive.