Turnkey Linux is a streamlined way to deploy servers pre-configured with programs such as WordPress, Drupal, Django, and more. Simply download the the image you need, configure specs, and turn on!
Login to your ZebraHost tenancy. You should have your login username, password, and an IP to put into your website address bar.
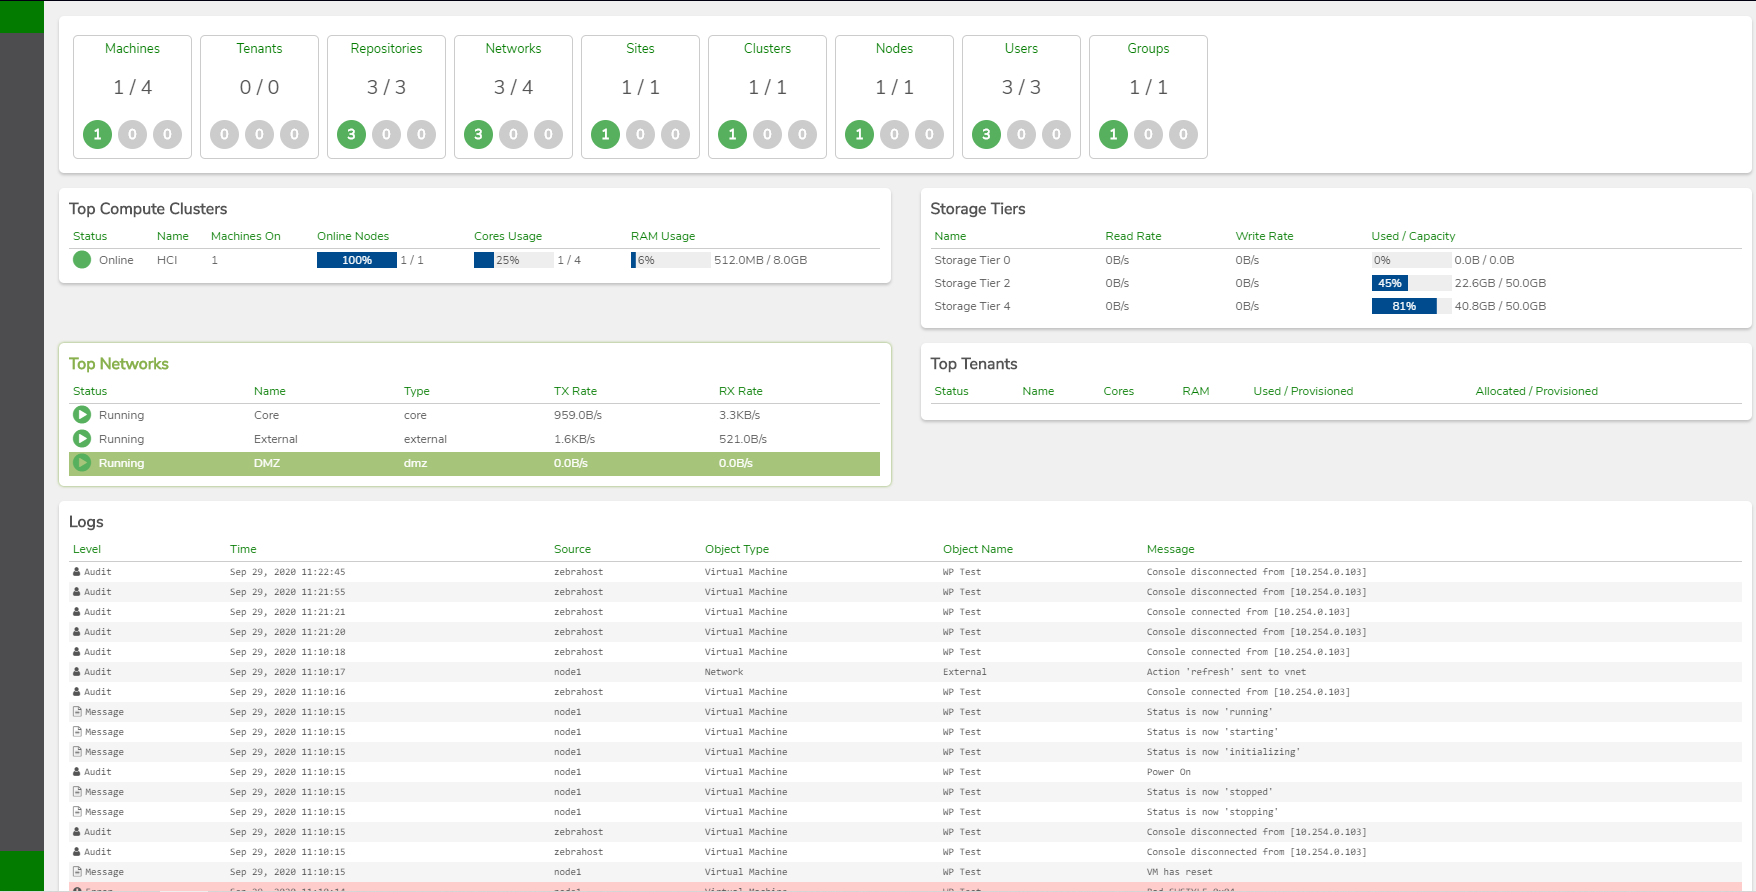
In your dashboard, go to
MachinesOnce you are in the
Machinesmenu, go locate “VM Recipes” in thesidebar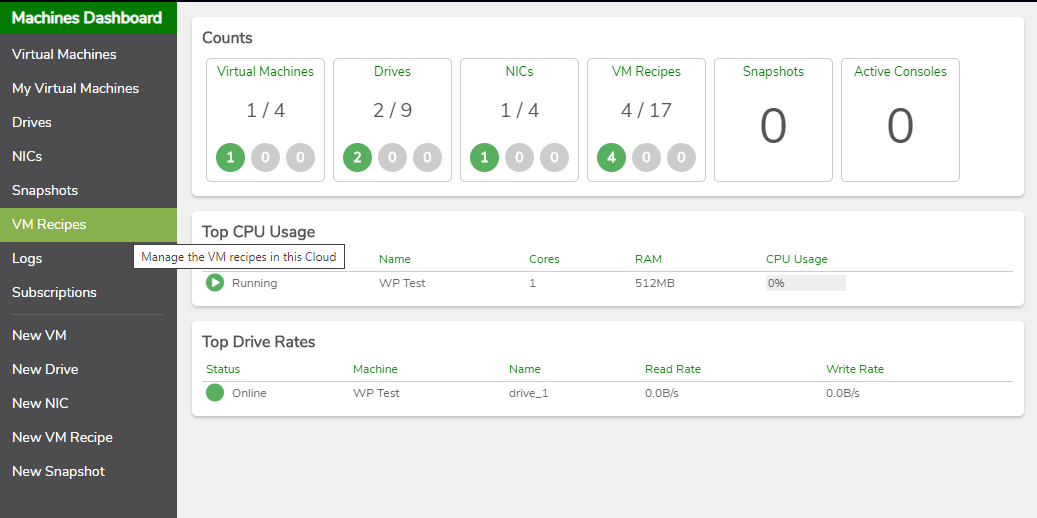
You will see a menu of different recipe image available for download like “turnkey-lamp” or “turnkey-wordpress”.
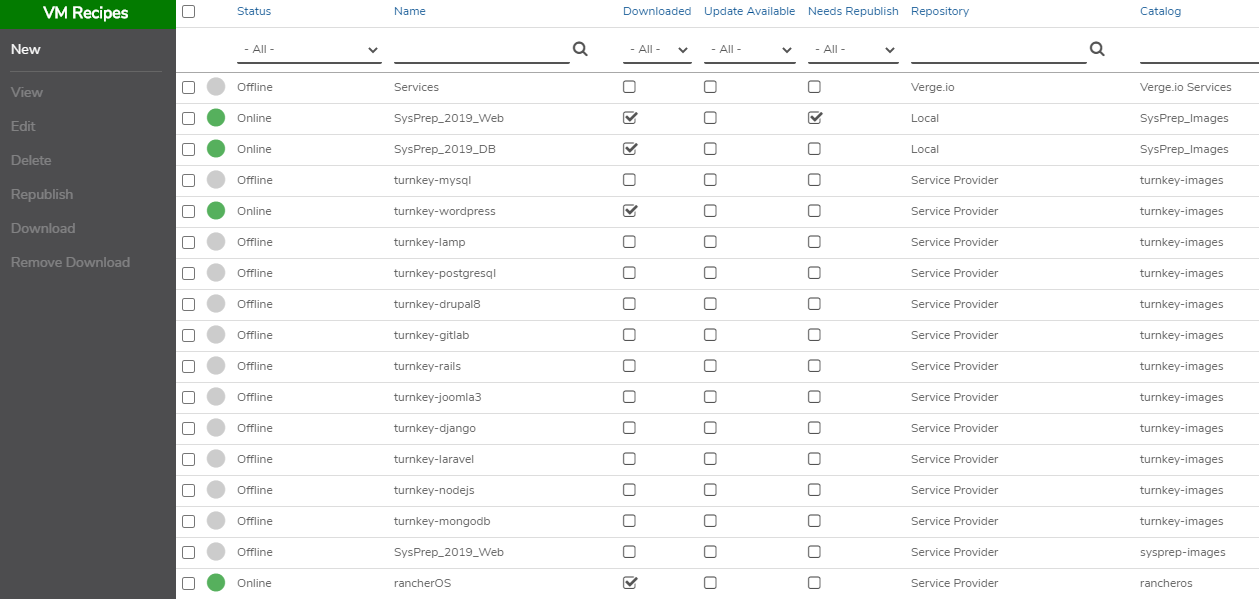
Double click an image to be brought to a screen where you can click the
Downloadbutton.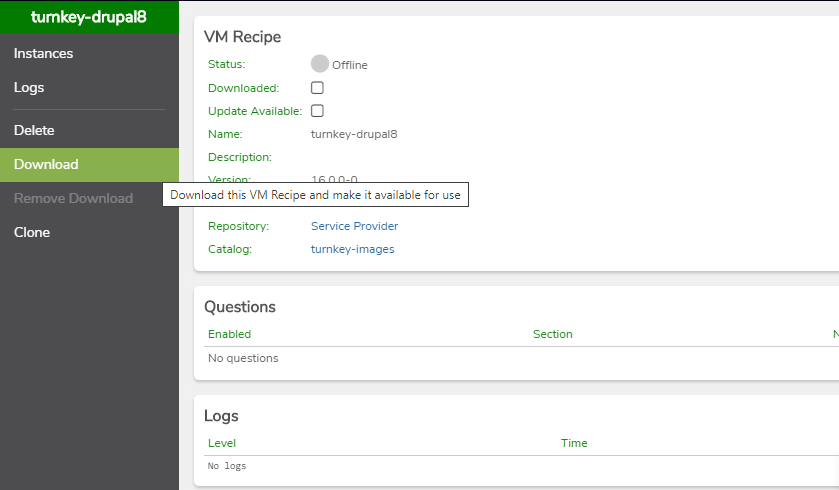
Once your image is downloaded, you will see a green icon showing that the image is “online”

When the image is successfully downloaded, locate
New from Recipein theside-bar.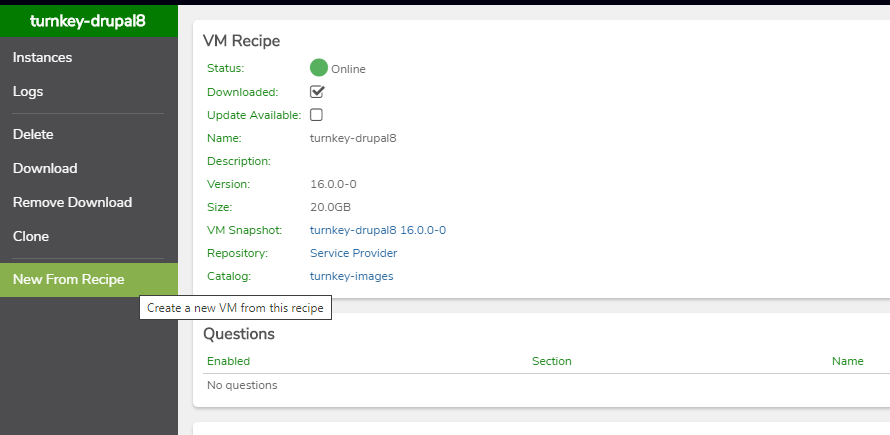
You will be prompted to configure your server. Choose specs per the program’s needs. Use “Default” for storage and “External” for your network.
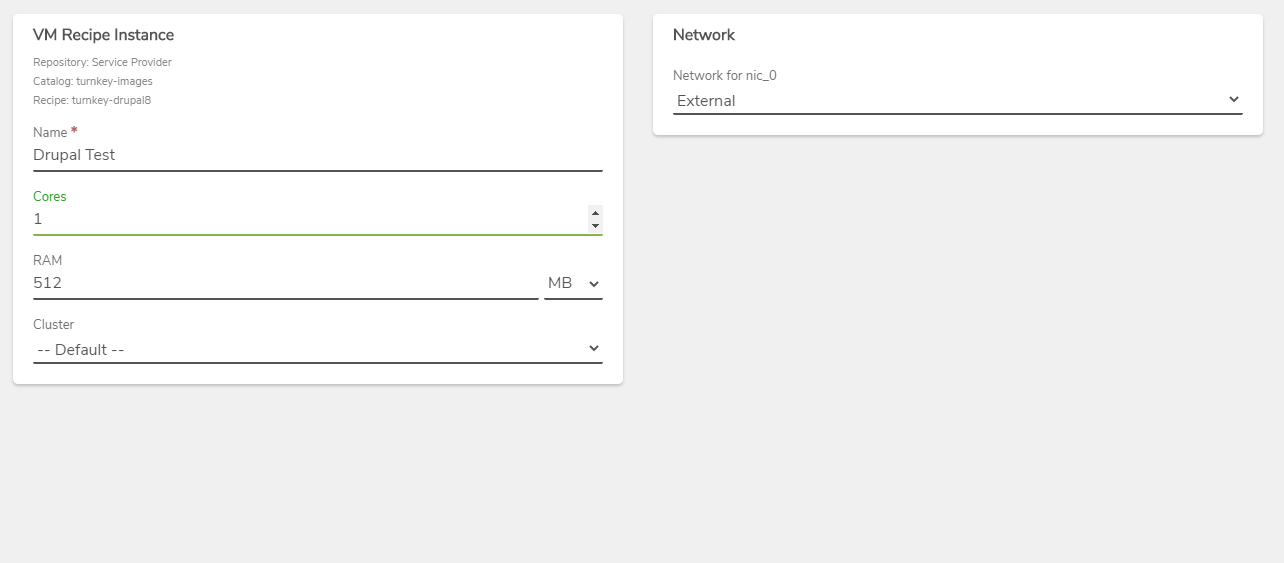
In this particular example I used Drupal. These chosen specs were for demonstration purposes only and are not enough to run Drupal. Please research proper specs before deploying a Drupal server.
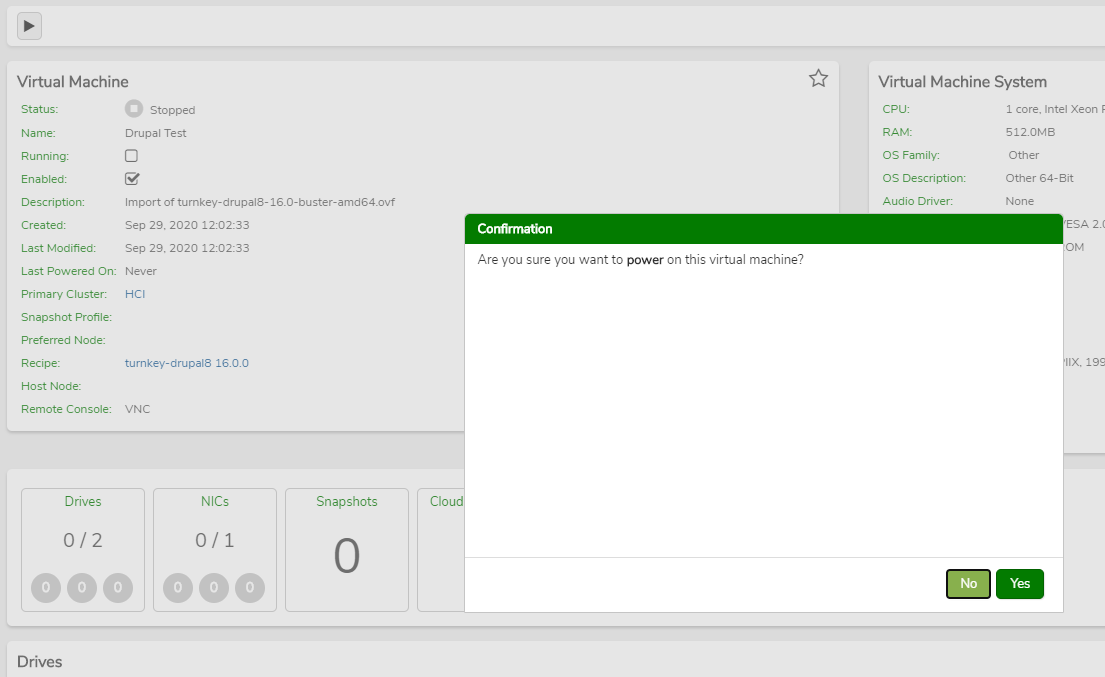
When your server is configured you will be brought to a dashboard. There will be a button in the upper-left corner that resembles a play button. Click it to turn on the server.
Click the terminal button to login and configure your server.
That’s it! Configuration will now be down to individual programs installed. For example, WordPress will have a different installation process than Drupal.