ZebraHost Client Portal has replaced “Contacts” with verified “Users” that are given more granular individual permissions. The new system aims to use more granular permissions to increase account organization and security.
Account owners will still be able to access their accounts as normal. However, any user beyond the account owner will need to become a user through verifying their email. Below are instructions on how to add a user from the ZebraHost Client Portal.
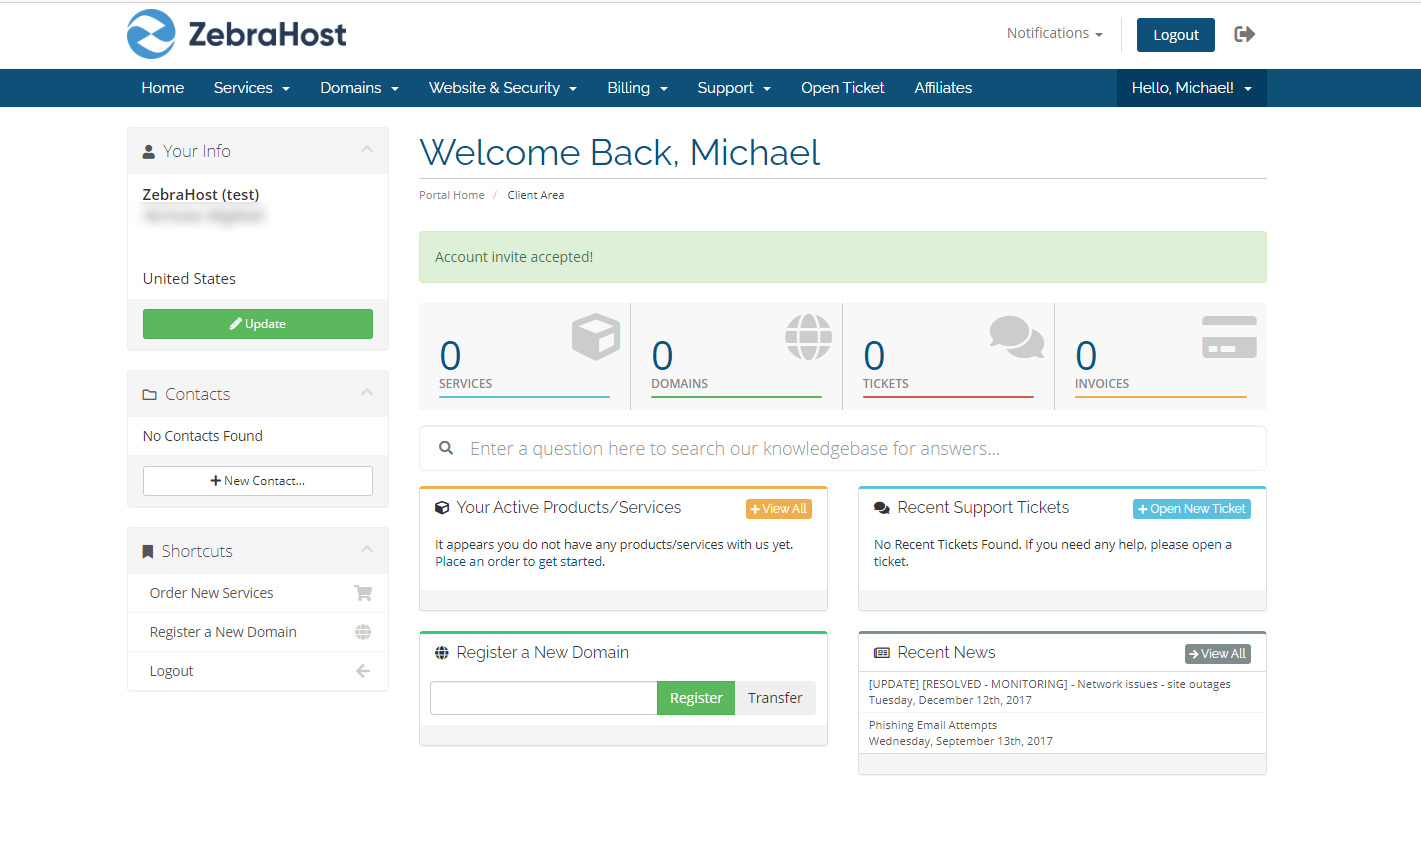
To be Completed by the Owner:
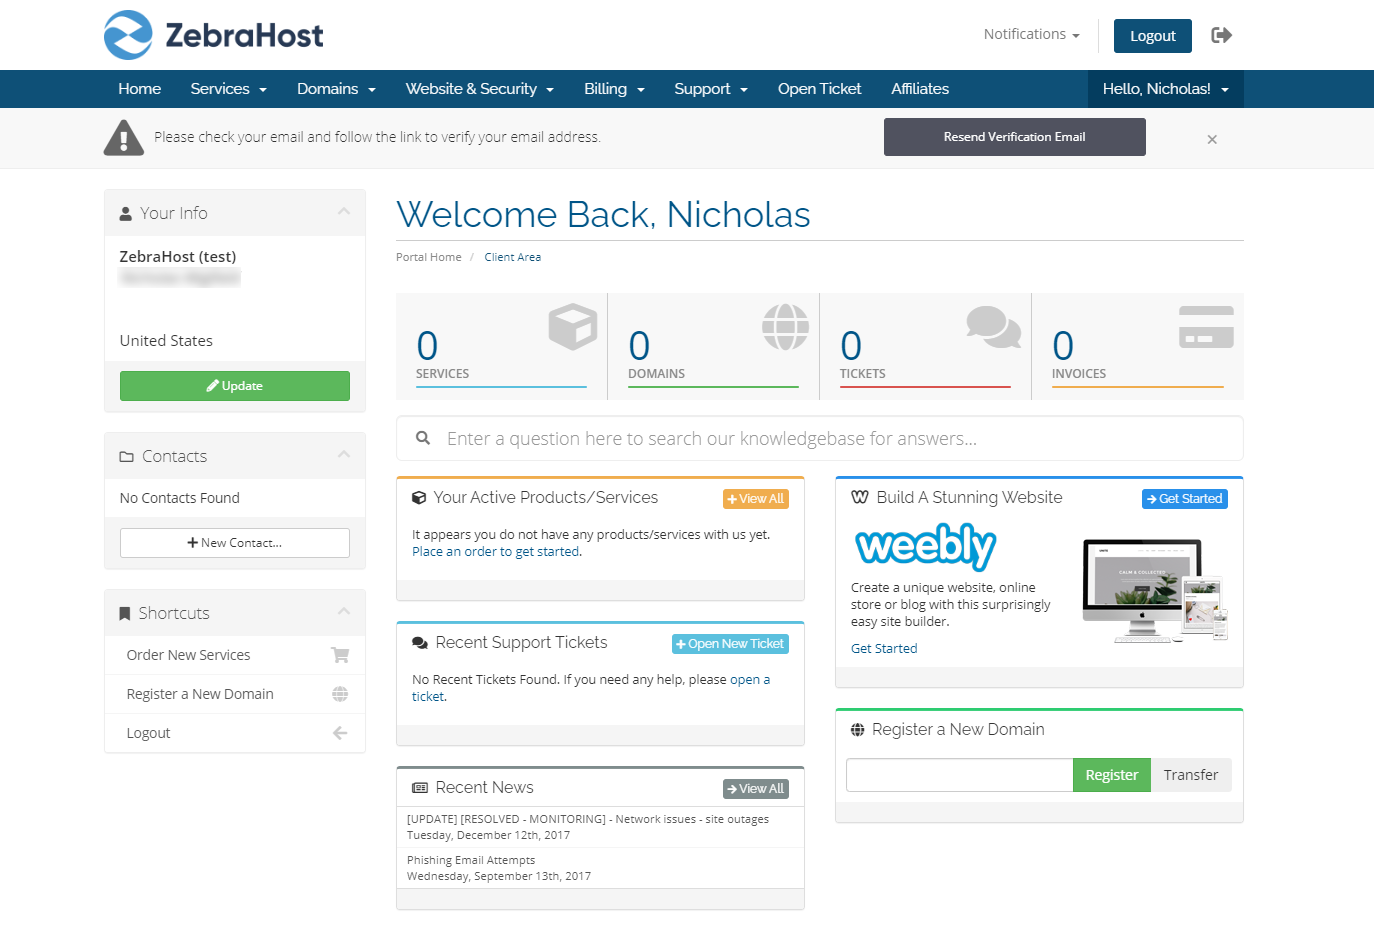
Step 1: Make sure that you are on the Home homepage. Your page should look something akin to this.
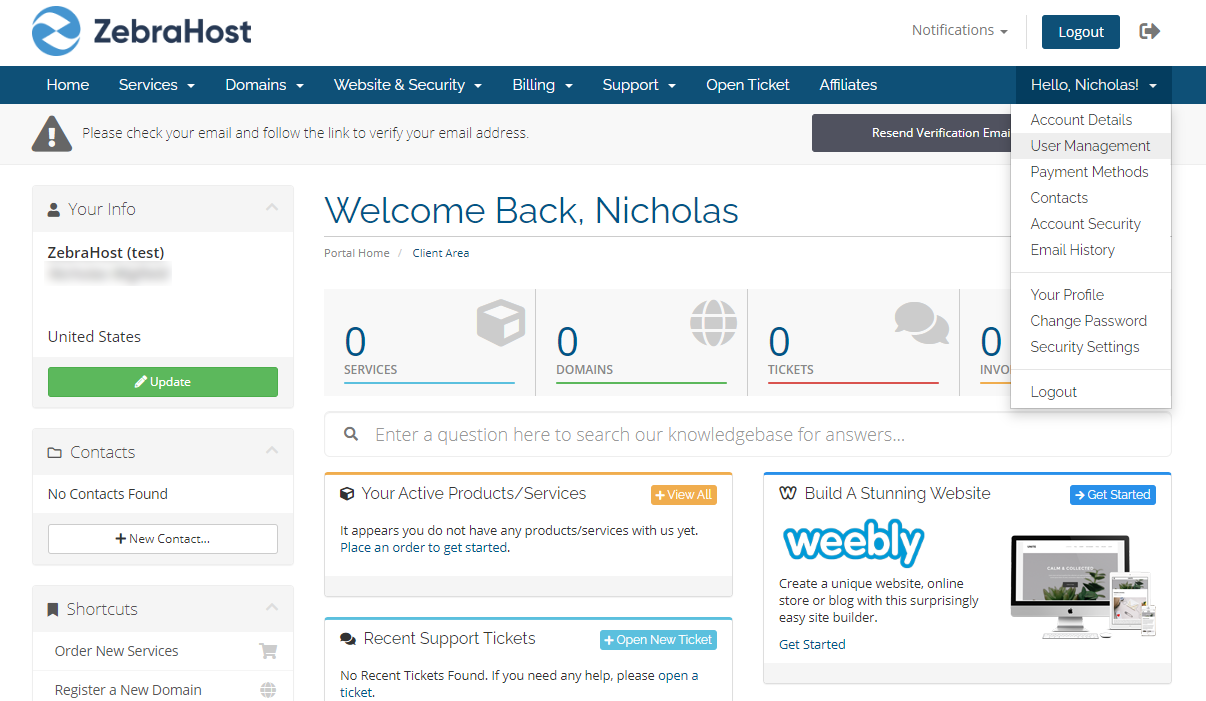
Step 2: In the upper-right corner you will see a dropdown with your username. Click it to be given a dropdown menu. Select User Management.
Step 3: You will be greeted with a page titled “Invite New User”. Here you will enter their email and choose their permissions.
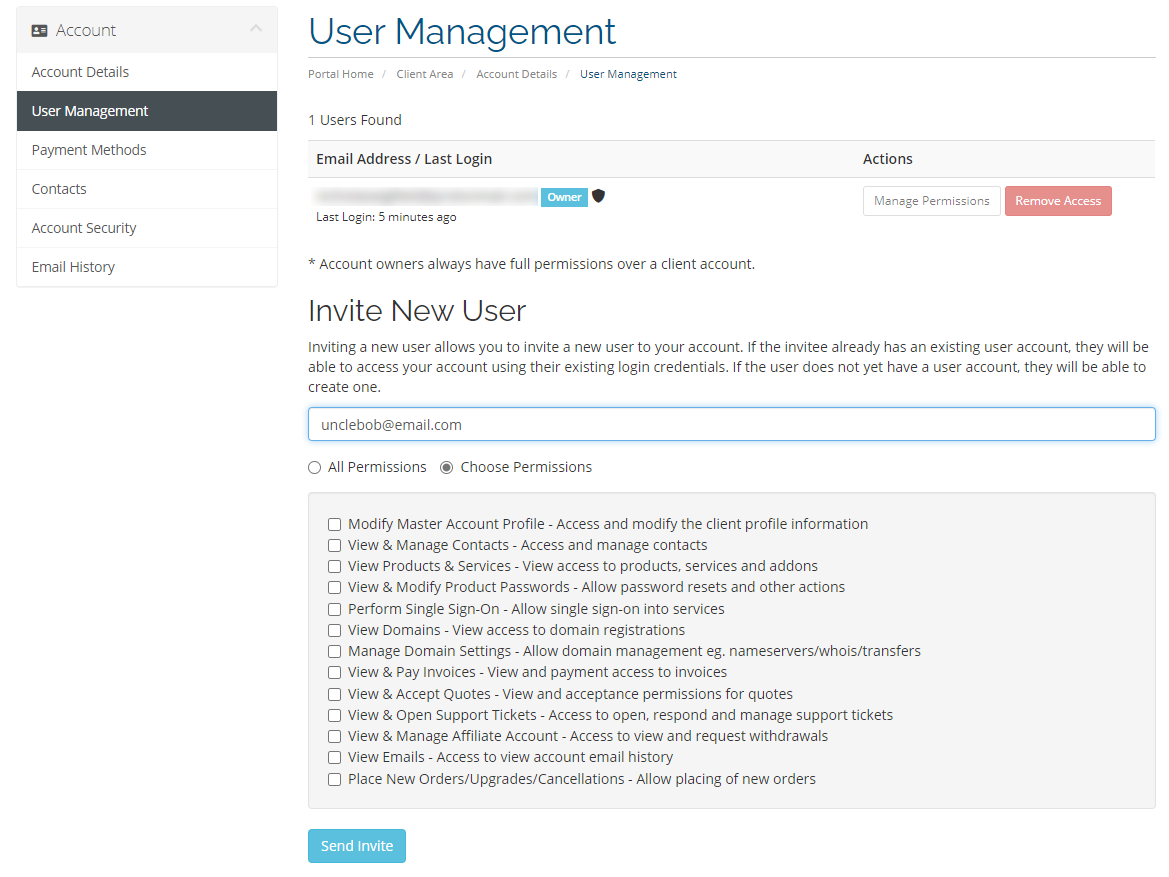
You can either opt to give them access to All Permissions or Choose Permissions where you will be able to select from a list of permissions by hand.
After entering a valid email and selecting permissions, click Send Invite.
To be Completed by the User:
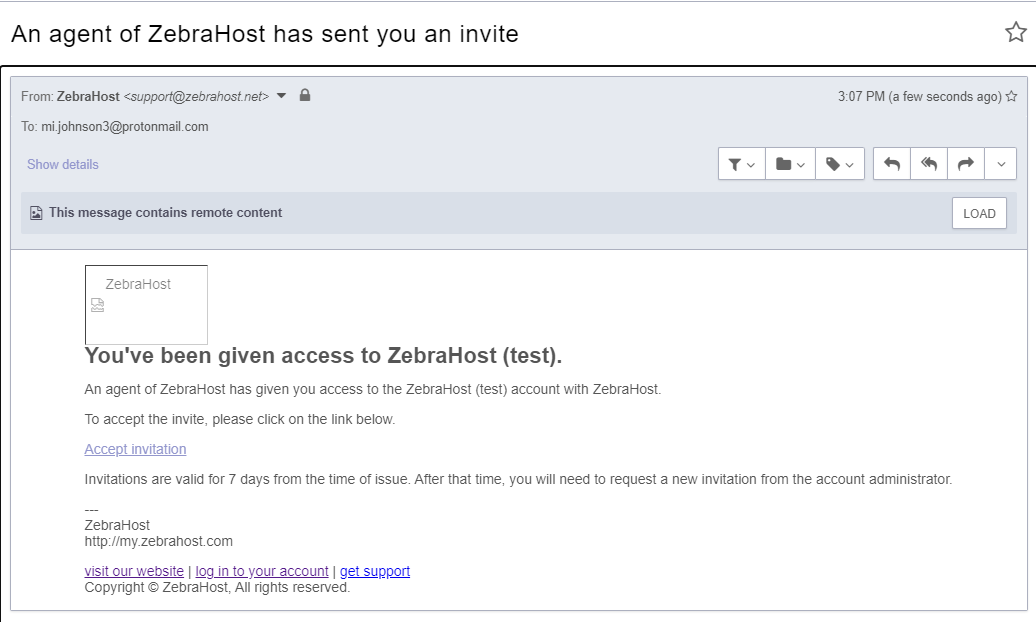
Step 1: In their email, the user will see an email titled “An agent of ZebraHost has sent you an invite”. The email will say they have been given access to the owner’s account. To accept, click Accept Invitation.
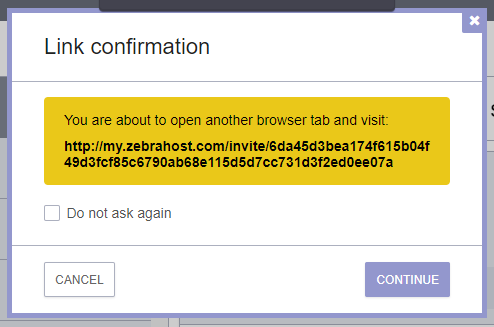
Step 2: Depending on their email client, it may see a security message such as the one below asking if they would like to proceed to the outside link. The link will lead to the Client Portal where the user will later accept the invite. Click Continue.
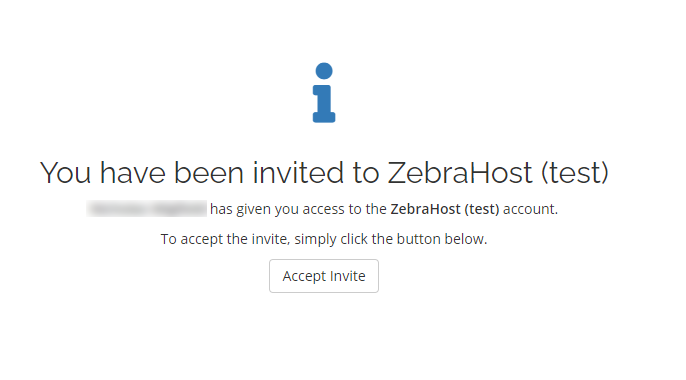
Step 3: They will be greeted with a pop-up message from the Client Portal. Click Accept Invite.
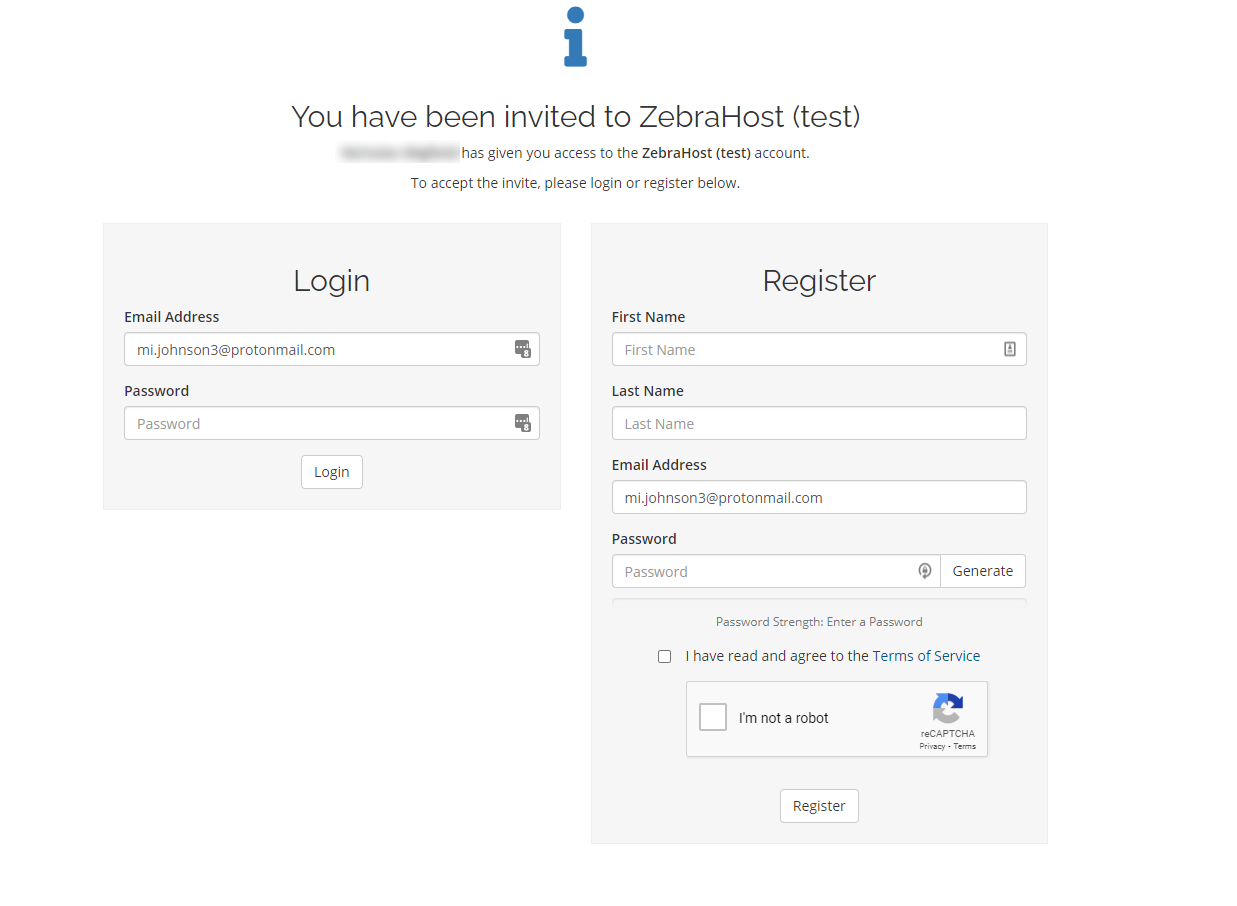
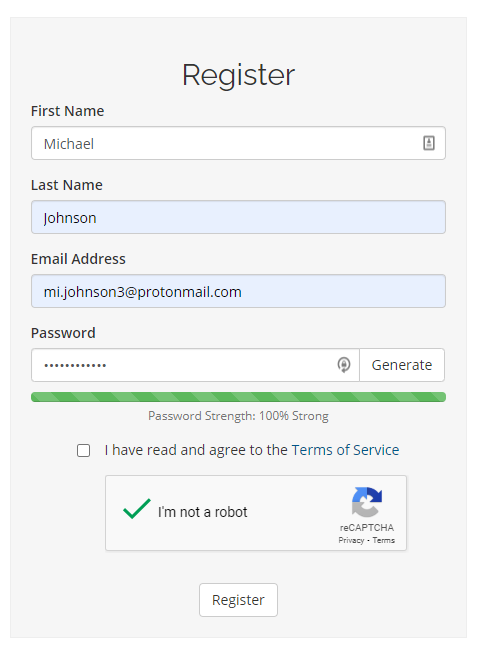
Step 4: The user will then be brought to a page where they can either login if they are an existing ZebraHost user or can create an account if not. Fill out the necessary information.
Step 5: Your user will now be introduced to their own user-specific homepage tied to the main account. From here, they can use the ZebraHost Client Portal and manage your ZebraHost services as far as their permissions allow.
Step 6: If the user registered for a ZebraHost account upon being invited, they must also verify their email after successfully logging into the Client Portal.