Configure an Emby Server on Linux
What is Emby?
Emby is a media server service that allows users to create their own private server with ease. It provides a web client and apps for mobile devices and TVs that allow a user to stream a variety of content ranging from music, pictures, movies, and TV.
Though lesser known than Plex, Emby is a great alternative for those that prefer a more minimal interface.
This article is going to show you how to set up a home server with Emby on Linux
In this particular demonstration, we will be installing Emby on Ubuntu 19 “Disco Dingo”. If you use a different Linux distribution you can adjust any commands used or download a package installer for your particular distribution. Most steps will remain the same.
Install Method 1: Installing via GUI Package Installer
The first step is to go to Emby’s website.

As you can see, there are several different platforms you can download Emby for including Docker for those that want to use a container!
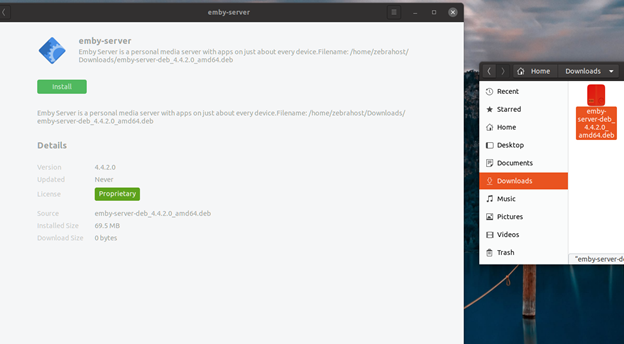
Select Linux and then choose your particular distribution. We are installing on Ubuntu 19 so we will choose Ubuntu X64 (Emby-server-deb_4.4.2.0_amd64.deb) and download it.
You will then be asked to either save the file or install it via the package manager. Install now with the package manager that Ubuntu comes pre-loaded with. When the program finishes installing, it will be installed to the system.
As a note: Emby does not come with an app tray accessible shortcut. So it may not look like it is installed at first but if the install completed successfully, you will be able to access the web interface.
Emby functions through a web browser interface. To access the interface, use this link:
Interface Link: http://localhost:8096
Note: We recommend saving this link as a favorite in your web browser for easy access later.
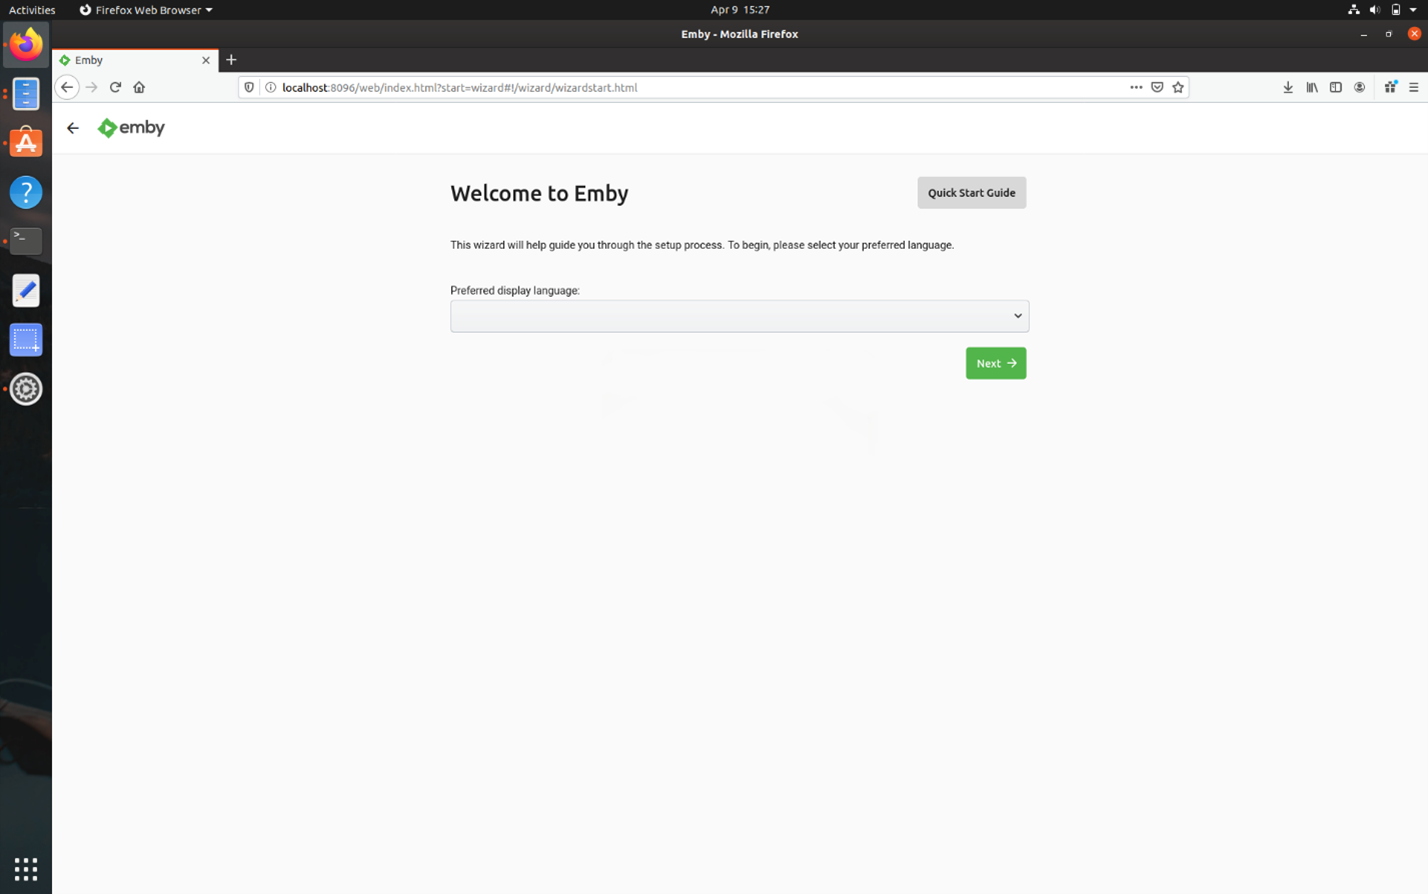
After installing Emby you will be brought to a Welcome screen where you will begin to customize your server.
Install Method 2: Install via Terminal
First, download the Emby-server-deb_4.4.2.0_amd64.deb package from the website and then place it somewhere on your machine where it will be found by the terminal. In our case, we simply placed the package in our Home directory.
Type: sudo dpkg -i emby-server-deb_4.4.2.0_amd64.deb

Once you’ve successfully executed this command Emby should be installed on your system.
After Emby has been successfully installed, use (and save!) the link below to access Emby’s web interface.
Link: http://localhost:8096
Welcome Page and Settings
The first time you log in you will be brought to a welcome page to guide you through setting up basic settings.
You will then be brought to a page asking you to add a server. Here you will connect your IP for your machine.

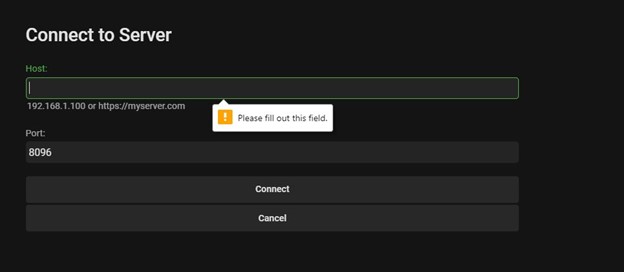
If you do not know your IP, the next section will teach you how to find your IP using the terminal.
How to Find Your IP in Ubuntu
On Ubuntu, type the command:
ifconfig
This will bring up your IP. You are looking for the IP that looks the most like the one for your internet router. The number next to inet is the IP number you should use.

Emby Setup Sync Setup
After successfully entering your IP, Emby will register that machine as a server. It will sync the media folders you instruct it to with your Emby web interface and applications. This media can then be streamed to any device Emby is logged into.
In this example, we will first setup the Emby server to sync with our Home Music folder.
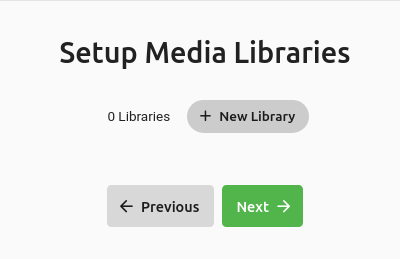
Once all your information and Emby account is setup you will be brought to a prompt that asks you to begin syncing your first media library.
To do this click +New Library
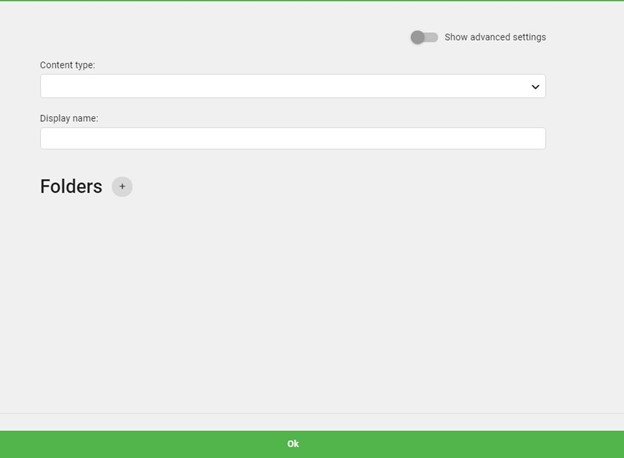
In the example of music, you will be asked additional questions such as where you want metadata to be downloaded from, what language the metadata should be in etc.
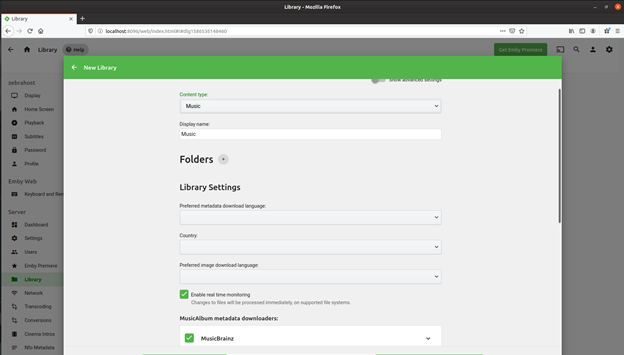
After filling this information out, go to Folder + where you will be asked which directory path you want to sync information from.
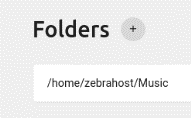
In this example, we are syncing from /home/username/music
Any music added or deleted from the Home Music directory from our machine will automatically be synced with Emby.
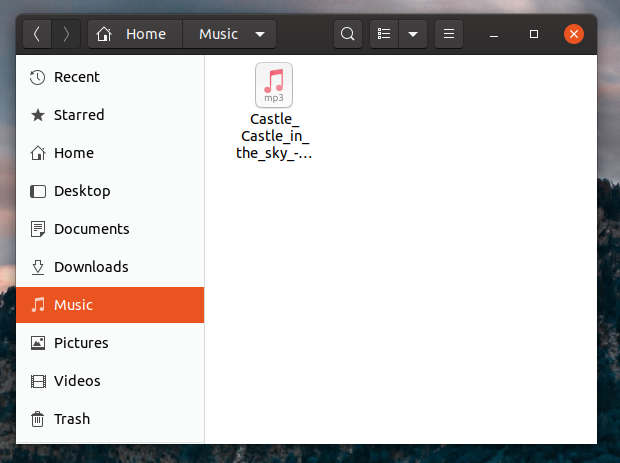
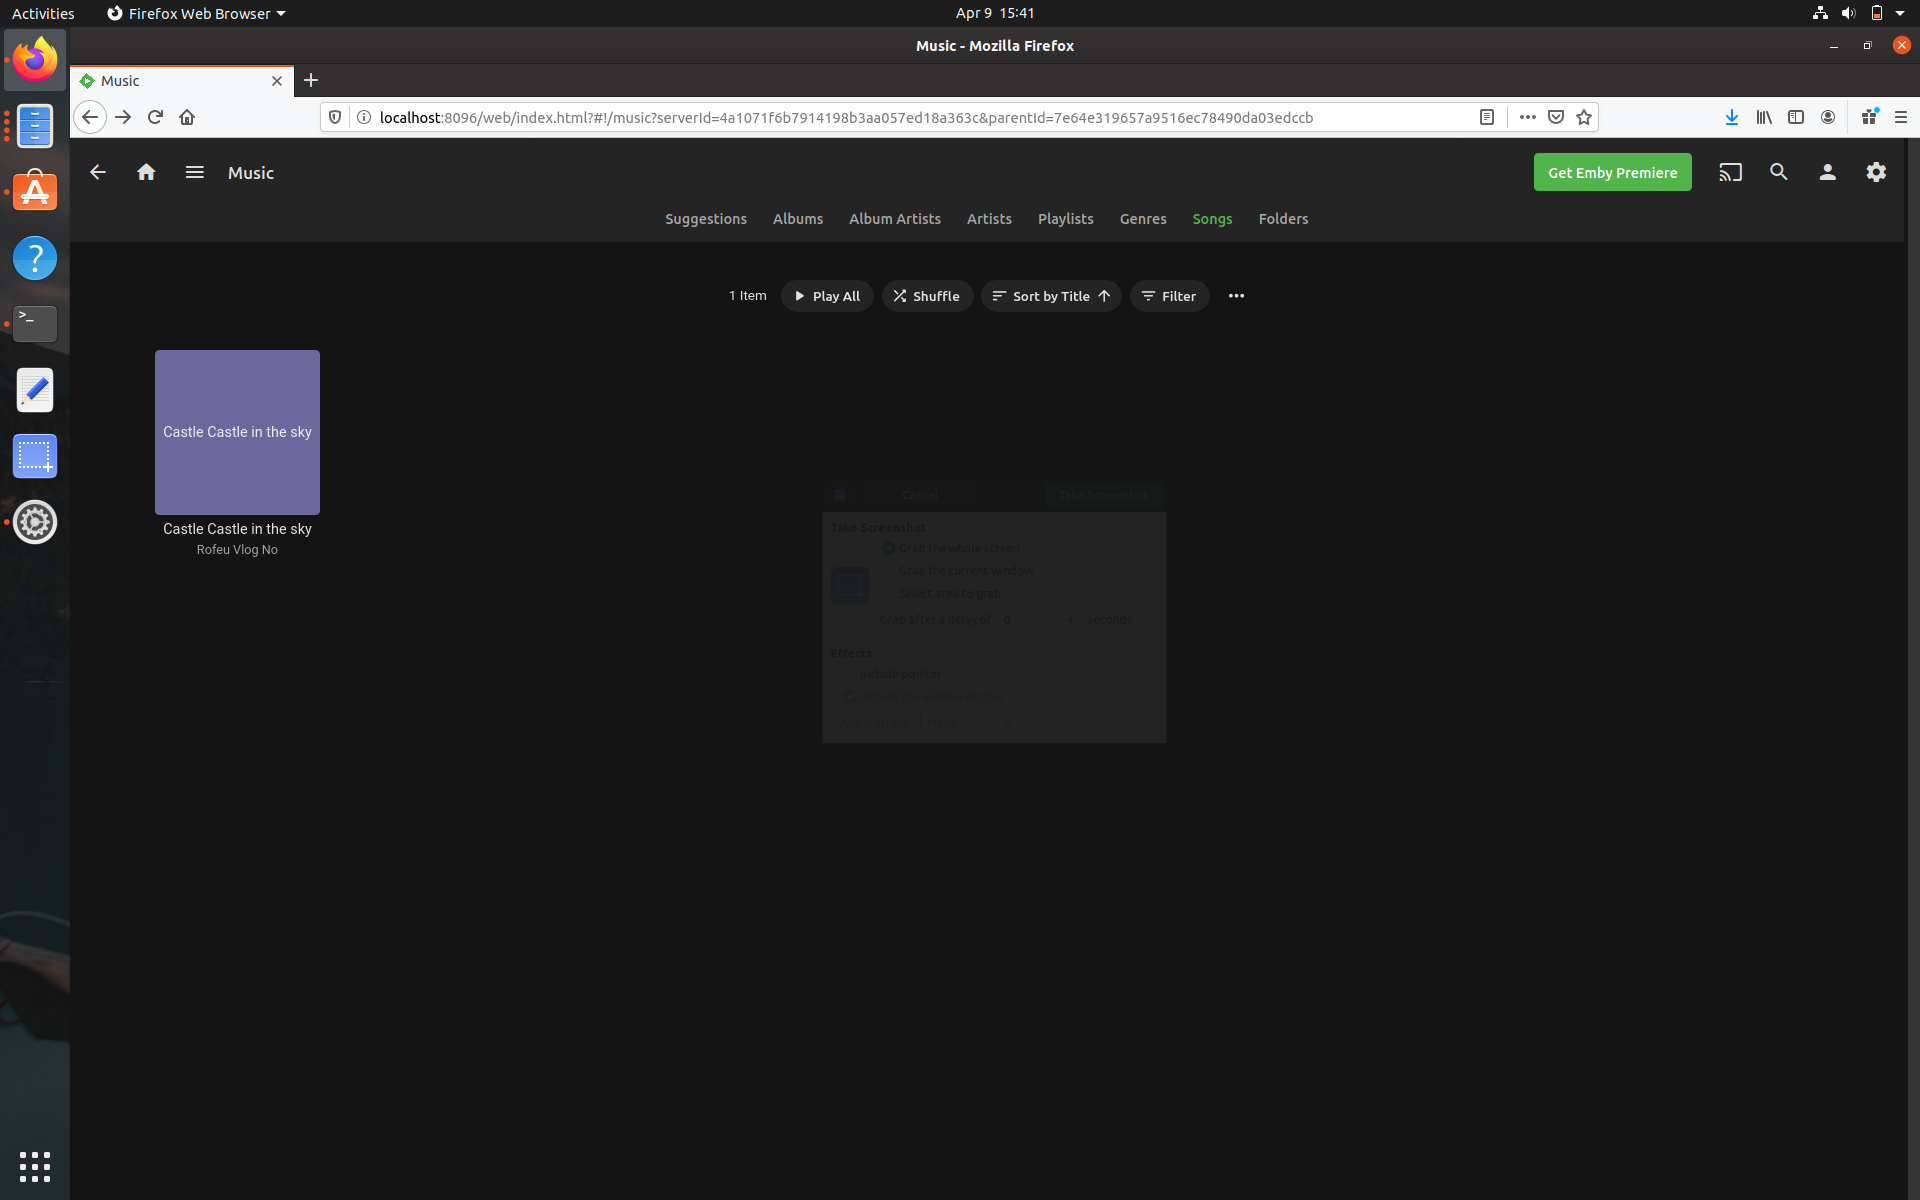
After successfully syncing with the Home Music directory, you can see that on our Emby home screen we are automatically linked to our music streaming folder where the same “Castle in the Sky” song has been synced with Emby and is ready to stream!
Add More Media
If you want to add more media such as movies and pictures, you can go back and add additional file paths and media categories.
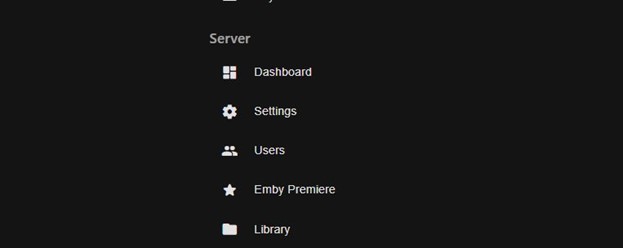
To do this first go to Settings. You will see that settings are split into several categories but we want to go to “Server” -> “Library.
You will then be taken back to a view where you can see a sidebar to the left. You want to make sure you have “library” selected.
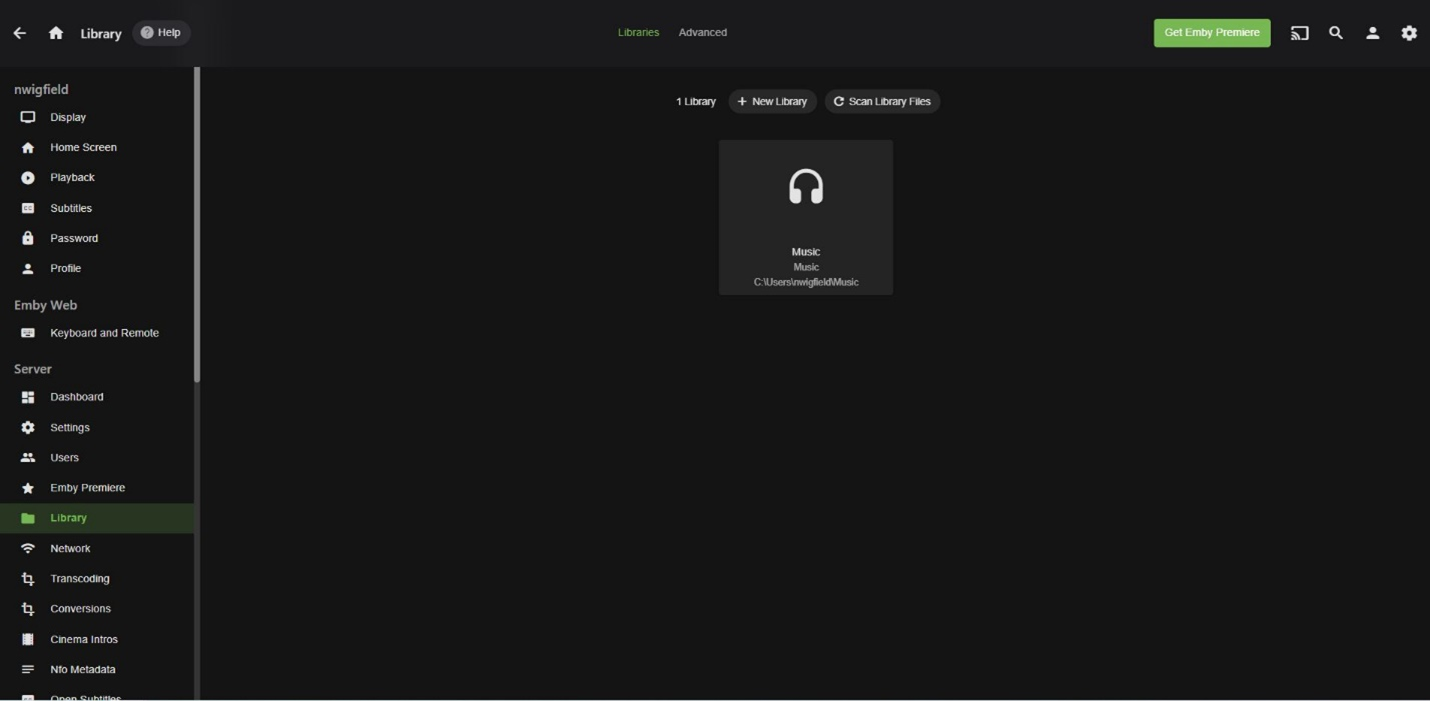
Click the icon that says “+New Library” towards the upper middle of the screen.
You will then be brought back to the familiar screen from setup where we added our first library. On this screen simply select the type of media you want to sync, any settings Emby asks you about and include the directory path to sync from and that’s it!
Conclusion
Emby provides a simple, convenient and affordable option for syncing media from a private server and enabling that media to be streamed over the cloud. Emby starts with a free tier and has both a monthly subscription as well as one-time perpetual license option for those that want to enable extra features.
Server platforms like Emby and Plex can be installed either on premises on a computer that is constantly on to sync from or onto a public cloud hosting service like ZebraHost if you want to have your server constantly on without maintaining your own hardware.