Emby Server Windows Install

Emby is a media server service that allows users to create their own private server with ease. It works by providing a web client and apps for mobile devices and TVs that allow a user to stream a variety of content ranging from music, pictures, movies, and TV.
Though not as well-known as rival service Plex, Emby is a great alternative for those that prefer a more minimal interface.
This article is going to show you how to use Emby to set up a home server on windows.
Installation
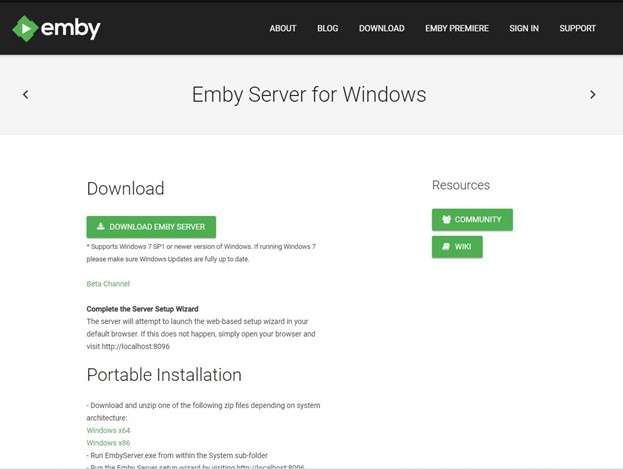
Installation is very simple. Start by downloading the .exe package from Emby’s website. You will be greeted with multiple operating system choices and Windows is to the far left. Click “Download Emby Server”.
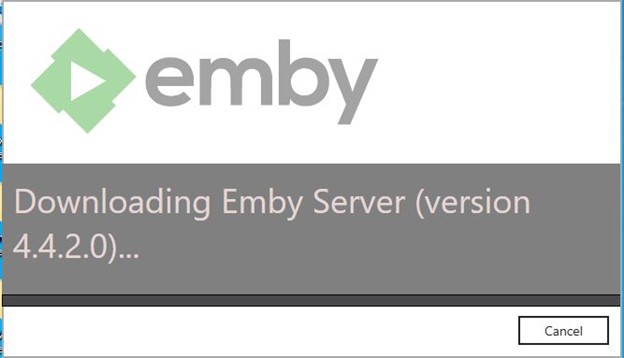
The program will download it and when you click to open the .exe file you will be brought to Windows installer. Follow the prompts to complete the installation process.
Start Emby
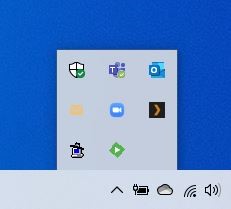
Once Emby is done downloading it typically leads the user to a webpage that allows the user to set up their server. If not, search for Emby in your start menu. When it starts it will be docked on your taskbar.
Right-click Emby to be given a menu of options and then click “configure Emby”
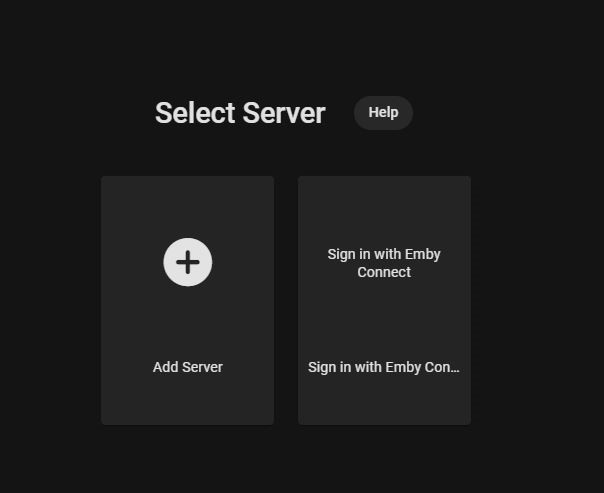
You will be brought to a browser page that will give you different options to begin configuring your server.
From here, you will go through several prompts before being allowed to add a server and configure it.

Setting Up Your Emby Media Server
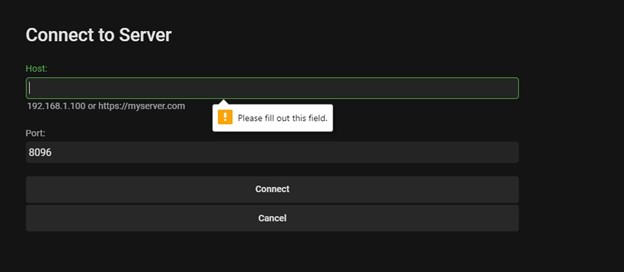
Click the plus to add your current machine as a server.
You will then type in your computer’s IP – if you don’t know what your IP is, you can find out how to find your IP in the section below this one using the command console to find out.
How to Find Your IP Address
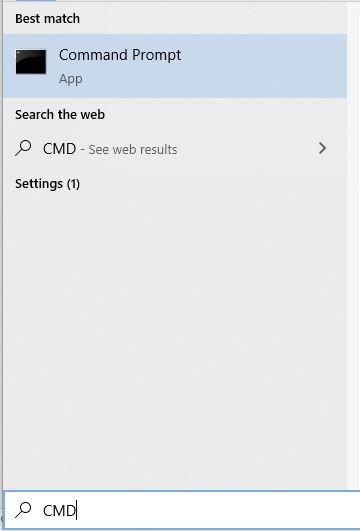
To find out your IP on windows, you will first want to type CMD into your start menu search bar.
Open the command prompt and type ipconfig
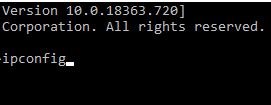
Scroll down until you see Default Gateway and that is your IP address
Setting Up Your Media Server
Once you’ve successfully entered your IP you are ready to start linking media folders to your account.
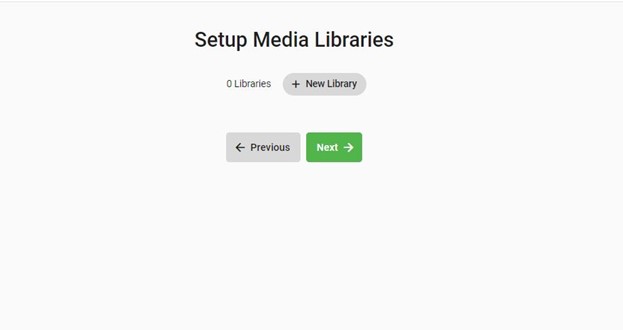
Click New Library to be brought to a page asking you to link a file path from your PC to Emby.
You will have several options for media to choose from such as music, movies, pictures, etc.
In this example, we are going to connect our Windows music folder.
When asked to select a content type, choose music (or any media type you want to install)
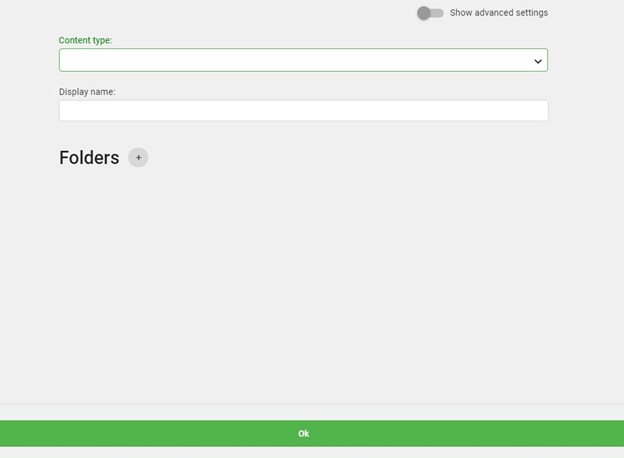
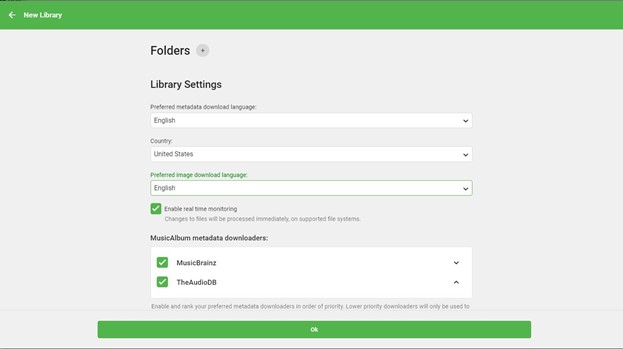
You will then be asked about miscellaneous options like which repositories you want to download album art and metadata from. We chose all of them for this example but feel free to customize based on your preferences.
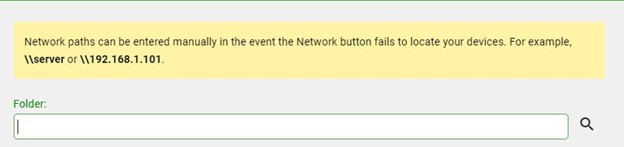
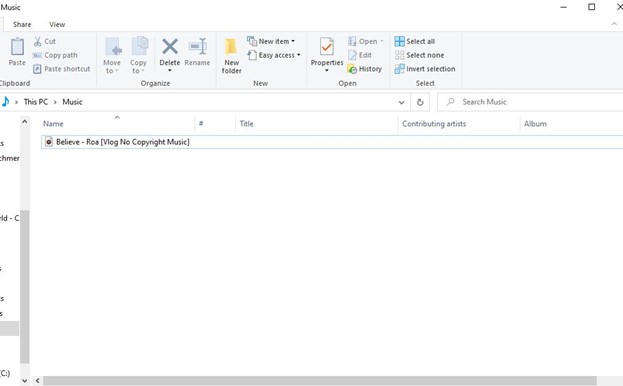
Click the Folder + icon which will allow you to add your windows Music path. For our PC it was C:\Users\username\Music
A good way to check is to go to the folder where you store music. Right-click a song and you will see the location it is stored in. Input that location to Emby.
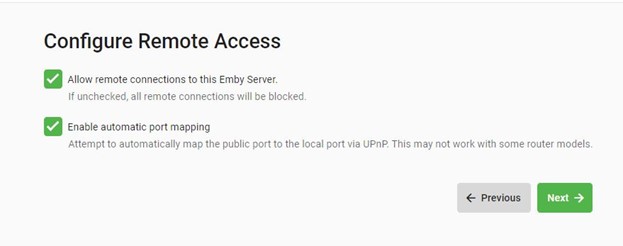
Emby will quickly ask if you want to enable remote access on your server. Remote access will let you access your server beyond your home network. A good example of when this is useful is streaming music on your phone when you are outside your house and on cellular of another wi-fi network.
But if you only intend to use your server on your own home network it might be a good idea for the security and peace of mind to disable remote access. The choice is yours.
In our example, we enabled remote access.
Emby Interface
Now that you have Emby installed and configured you will be brought to the home interface.
Because we only set up the music folder so far, we are brought straight to the music player portion of Emby.
Here, any music that is added or deleted from our Windows music folder will be synced with Emby and displayed in this interface.
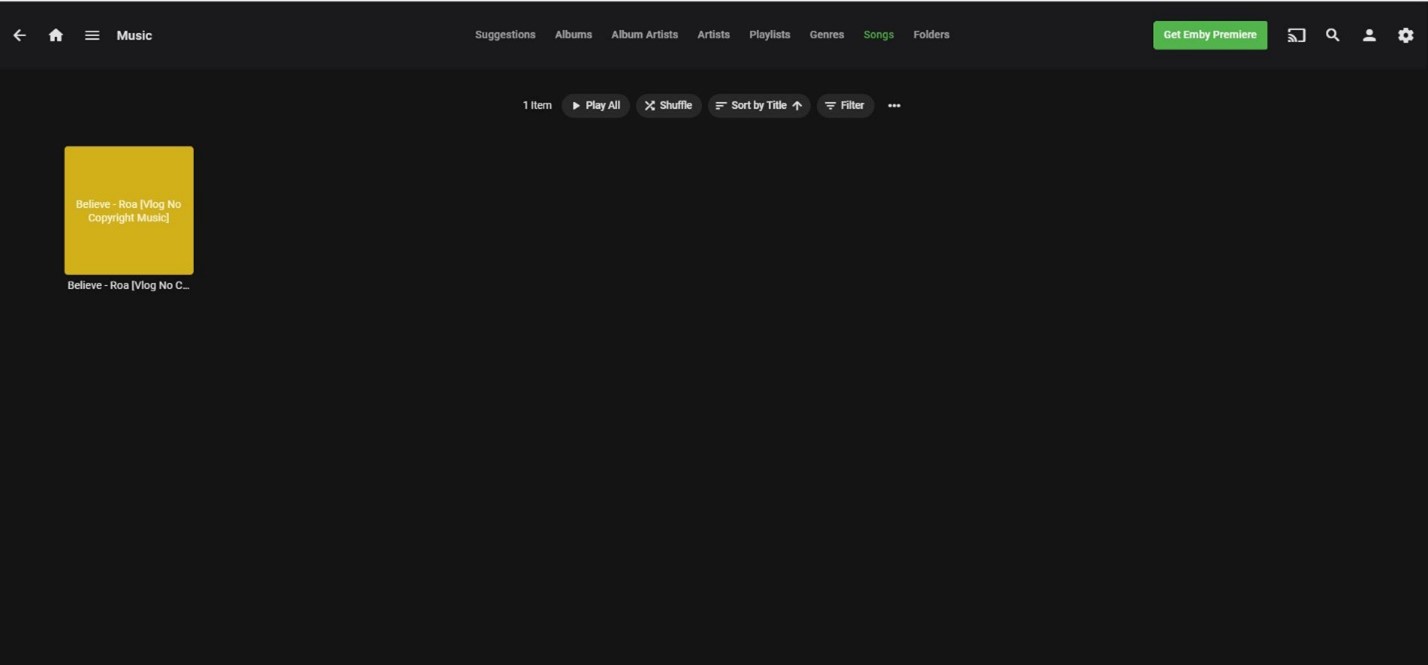
In this example, the one song we have in our music folder from Windows is now on Emby.
Adding a New Library
In this example, we only installed the music folder to start, but Emby will allow you to stream more than just music.
If you want to add multiple forms of media you will want to add another library.
To do this, go to your sidebar and then click “Settings”
You will then be brought to a list of different settings split into categories.
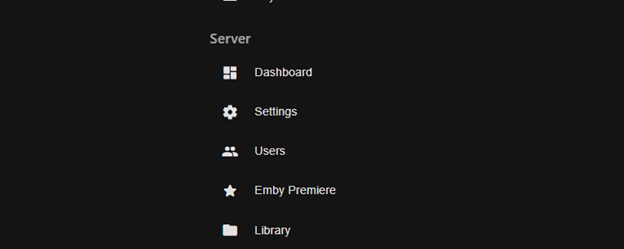
Under “Library” click settings. You will then be brought back to a familiar screen which allows you to add libraries from your Windows Machine to sync with Emby.

Click +New Library then simply select the type of media you want to sync from the dropdown menu.
Conclusion
Emby offers a convenient and user-friendly platform to build your own media server for streaming. Users can start for free with limited functionality or upgrade to a monthly paid plan or one-time payment for a perpetual license to unlock all premium features.
Streaming media platforms like Plex and Emby are popular both as private on-premises home servers as well as a convenient solution to implement with a cloud hosting provider like ZebraHost.