4 Ways to Install Plex Media Server on Ubuntu
Plex Media Server
Plex Media Server allows you to build your own private multimedia cloud. The Plex service ranges from a free subscription with few limitations to a monthly paid service or perpetual license that provides extra mobile app functionality.
Plex is a simple way for users to create their own cloud for streaming movies, photos, music, and TV shows from either an on-premise private cloud or a rented server through a hosting provider.
Ubuntu is a Linux distribution that most people who are familiar with Linux will have either used or at least heard of. Canonical, the company behind Ubuntu, is credited with bringing Linux desktop environments aimed at everyday users to the mainstream with its popular Ubuntu distribution.
Due to people’s familiarity with Ubuntu, and Linux’s overall efficiency compared to solutions like Mac OS and Windows for running servers, it’s a very popular choice for setting up server environments such as Plex.
Many users installing Plex on a Linux server are more familiar with Windows and Mac which both use clickable program installers. Ubuntu is a great choice for users accustomed to application installers because it comes with a package installer much like Windows and Mac OS as well as a few other ways to install applications (like an app store).
This tutorial is going to teach you how to install and set up a Plex media server using the built-in package installer, Ubuntu app store, command console, and Snapd so that no matter which method you are comfortable with you can get your server up and running!
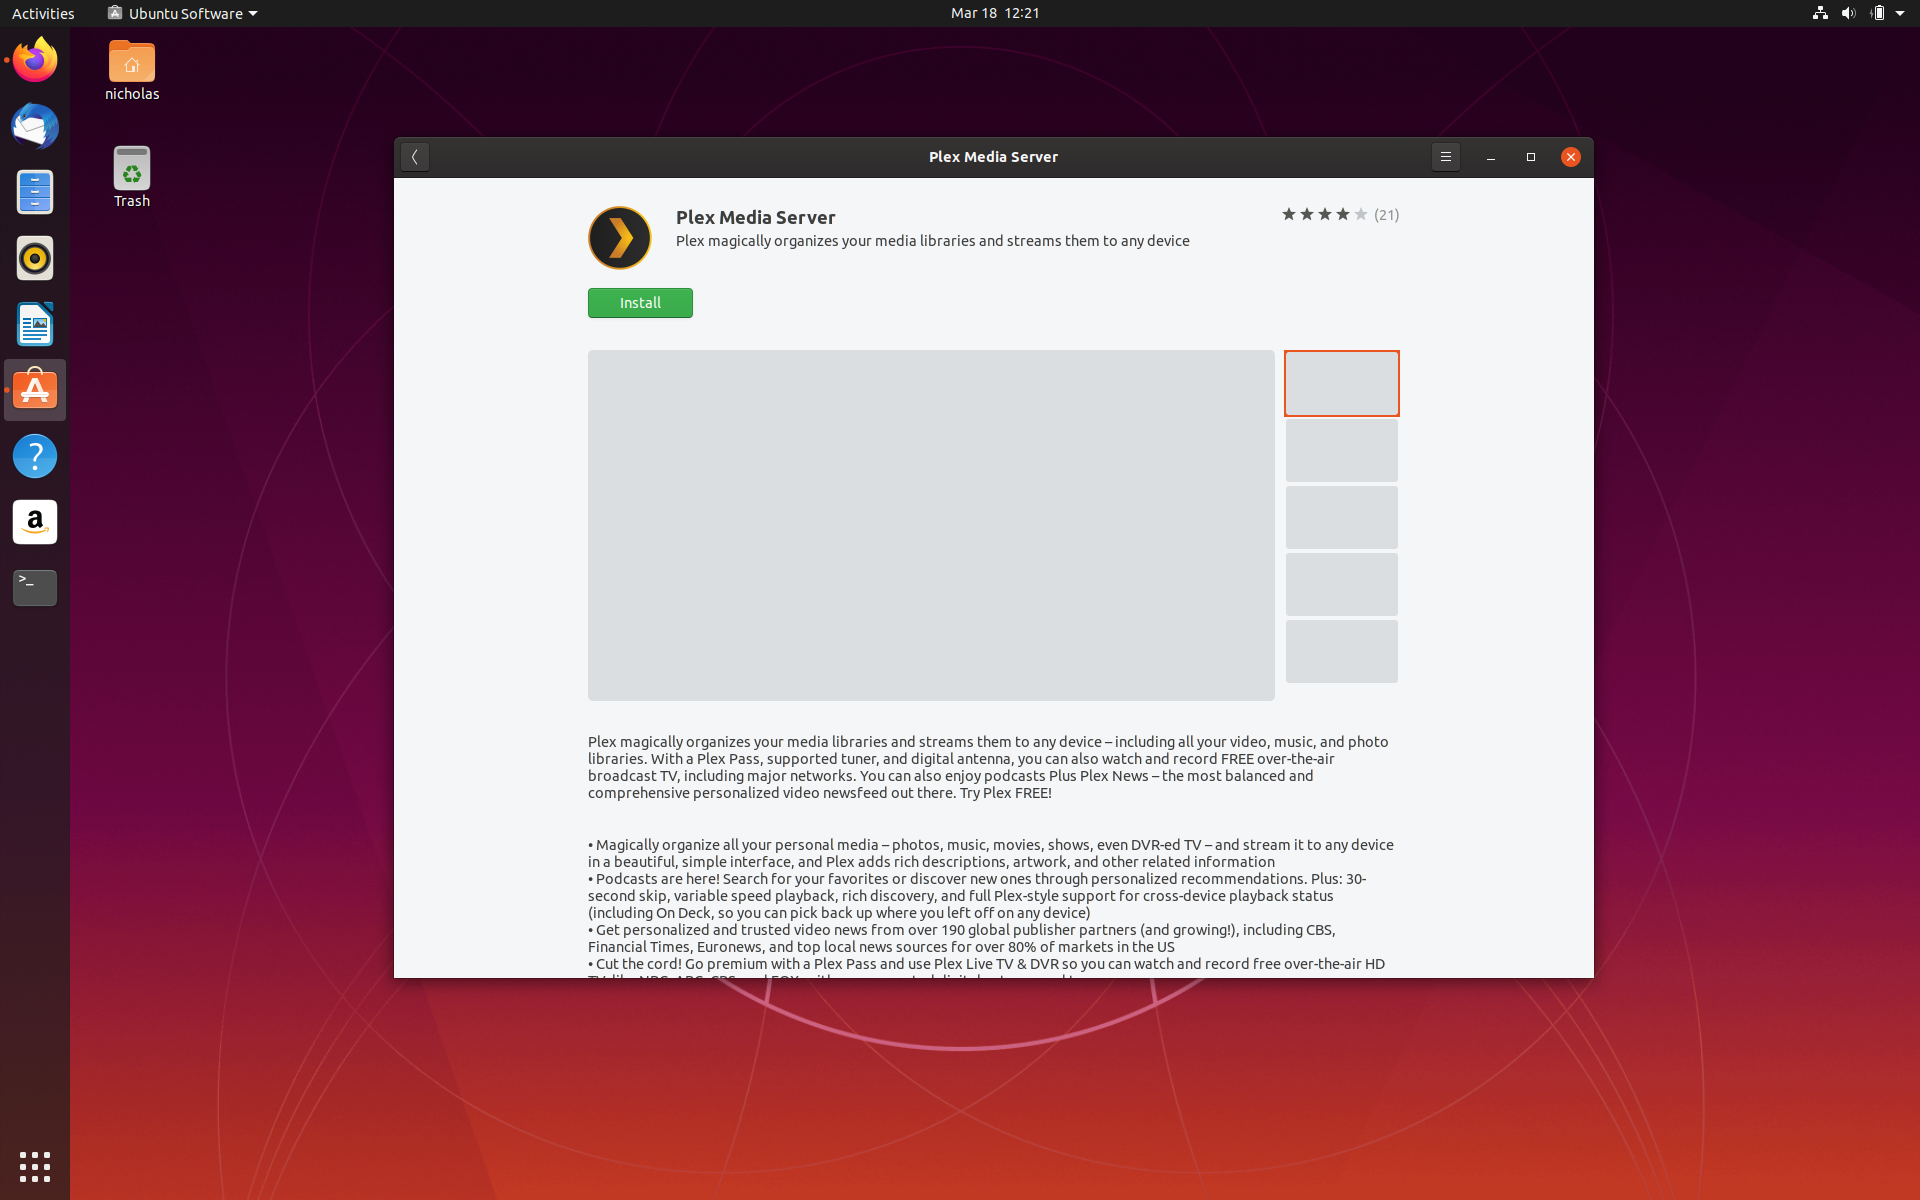
The App Store
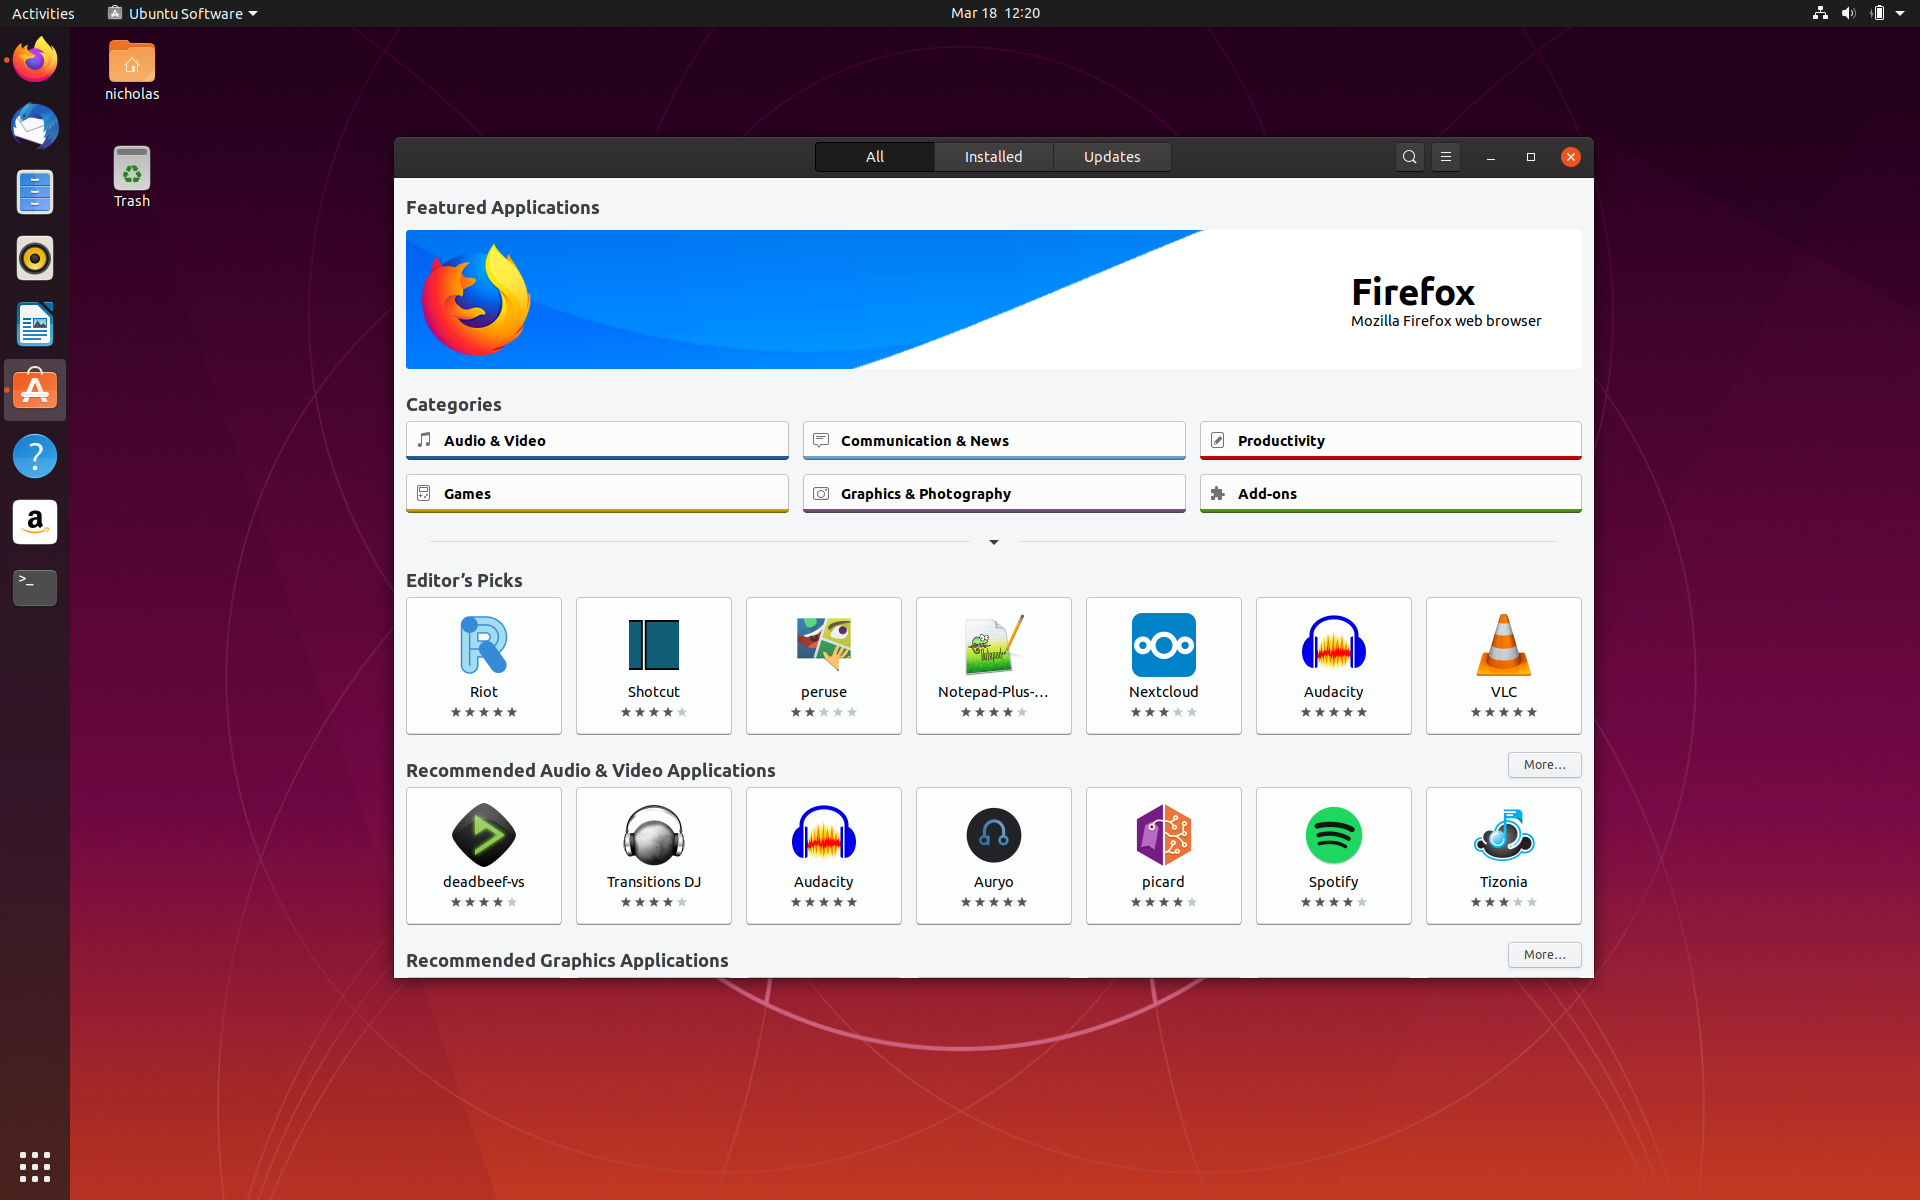
Something that many popular Linux distributions have been getting good at is including a pre-packaged app store. The Advantage of an app store (especially for Linux) is that for many it’s a convenient place to quickly search for numerous popular programs that have Linux compatibility.
-
To install Plex using the app store simply search for Plex using the upper righthand search icon. Once you’ve located Plex, tap the icon and click install just like you would using any other app store.
-
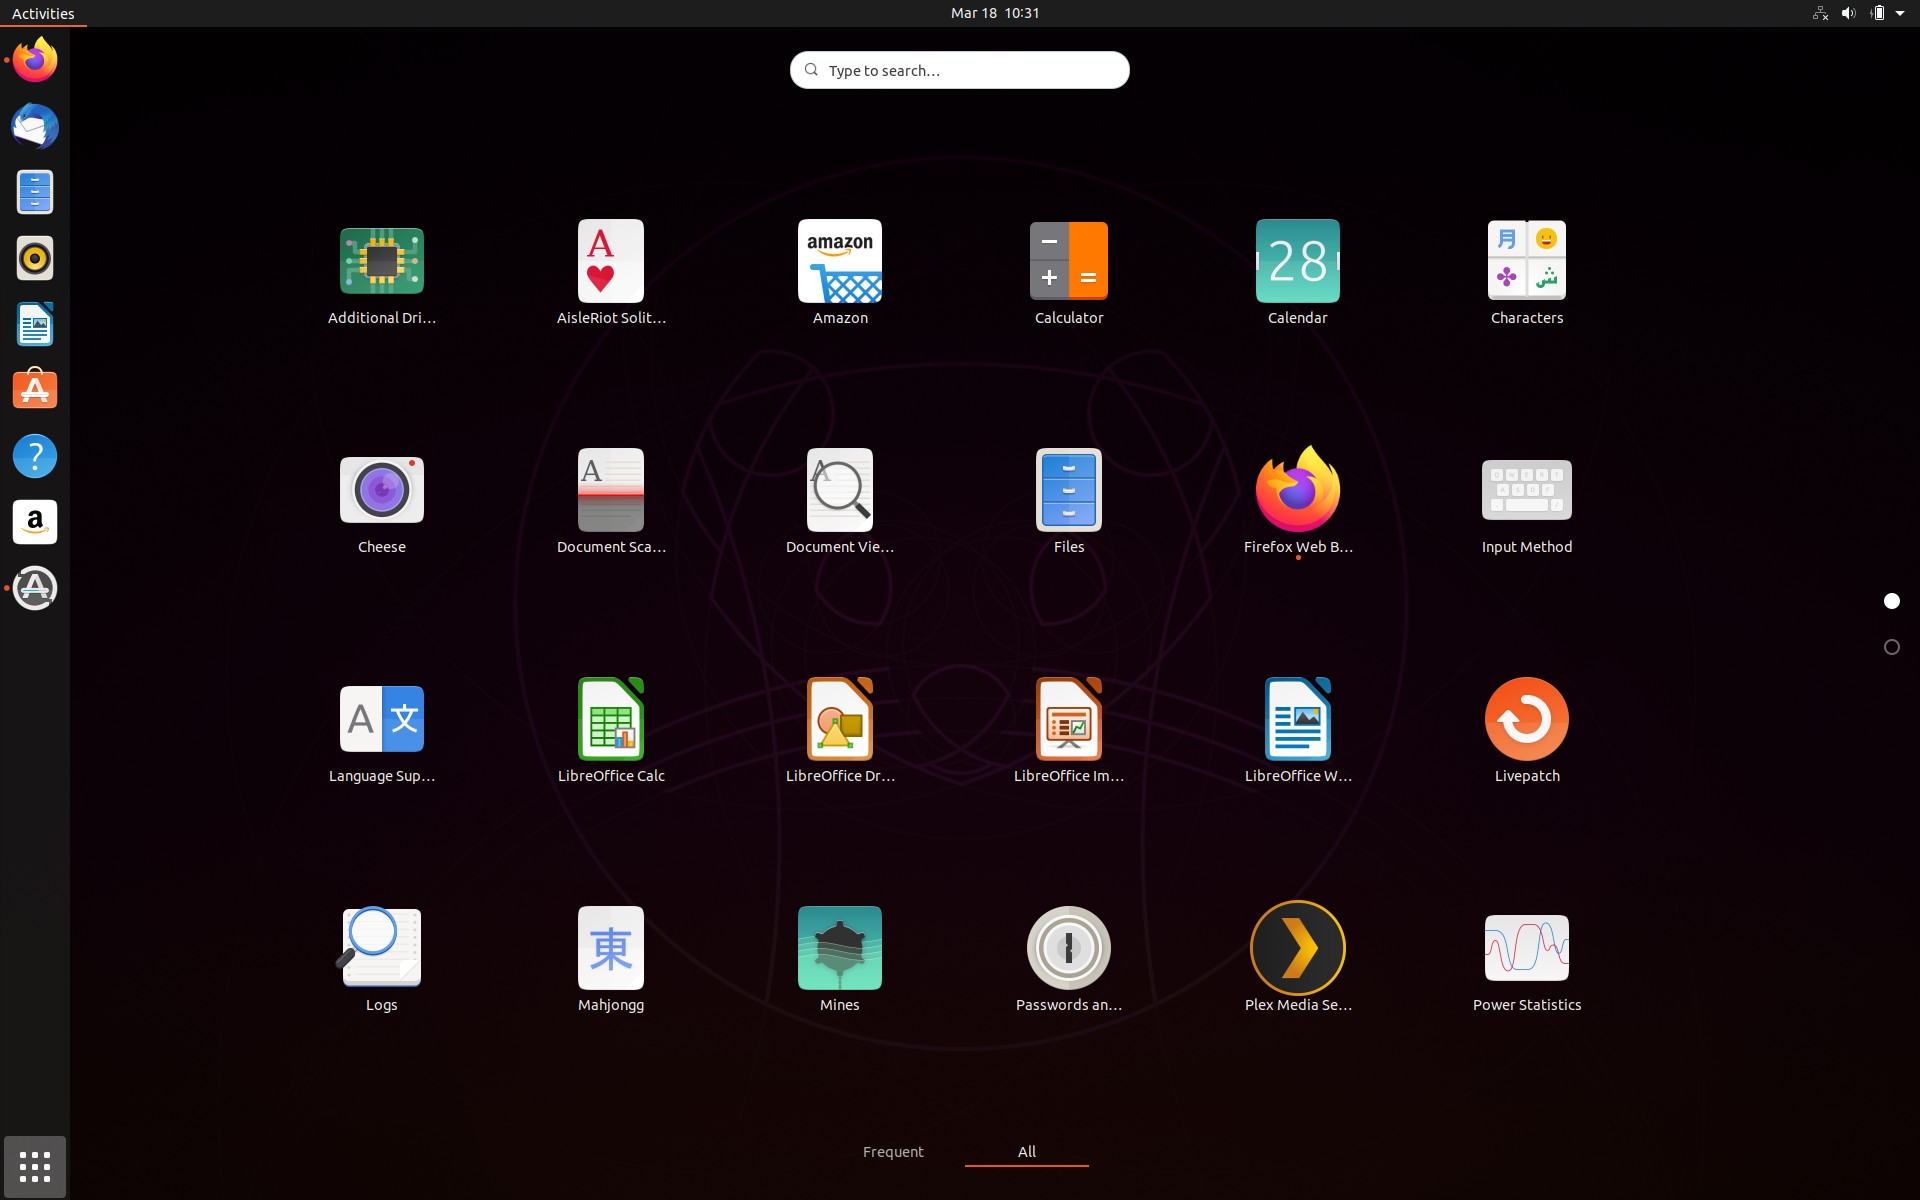
To make sure you have Plex installed, go to your app drawer on Ubuntu by locating the set of squares at the bottom left corner of your Desktop dock. Scroll through your applications and you should see the Plex icon.

-
Click the plex icon which will take you to the Plex web interface where you can begin by making a Plex account. After creating an account, you can begin to connect your media folder with Plex.
Package Installer
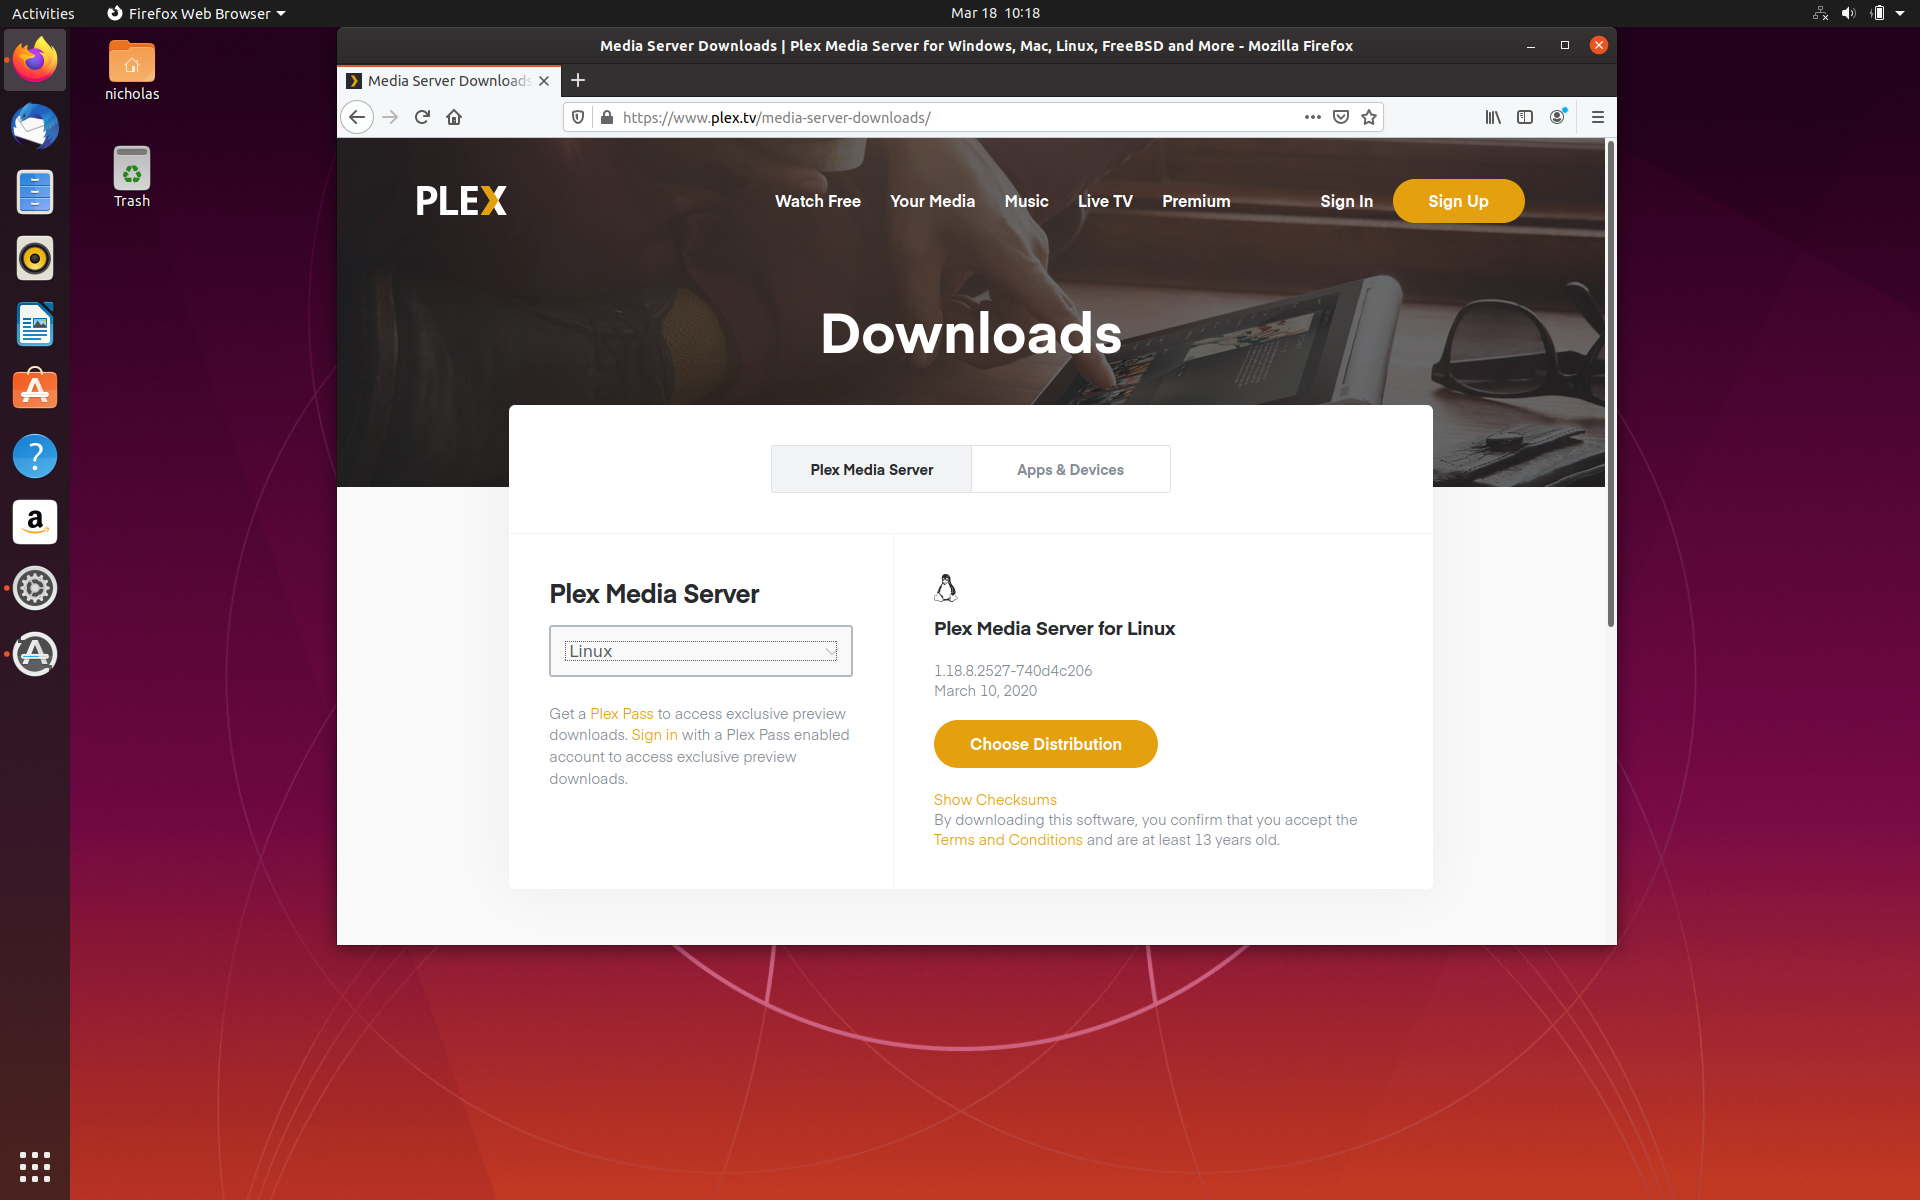
If you want to simply download your Plex media server straight from Plex’s website, Ubuntu comes with a handy package installer much as you’d find on Windows or Mac.
-
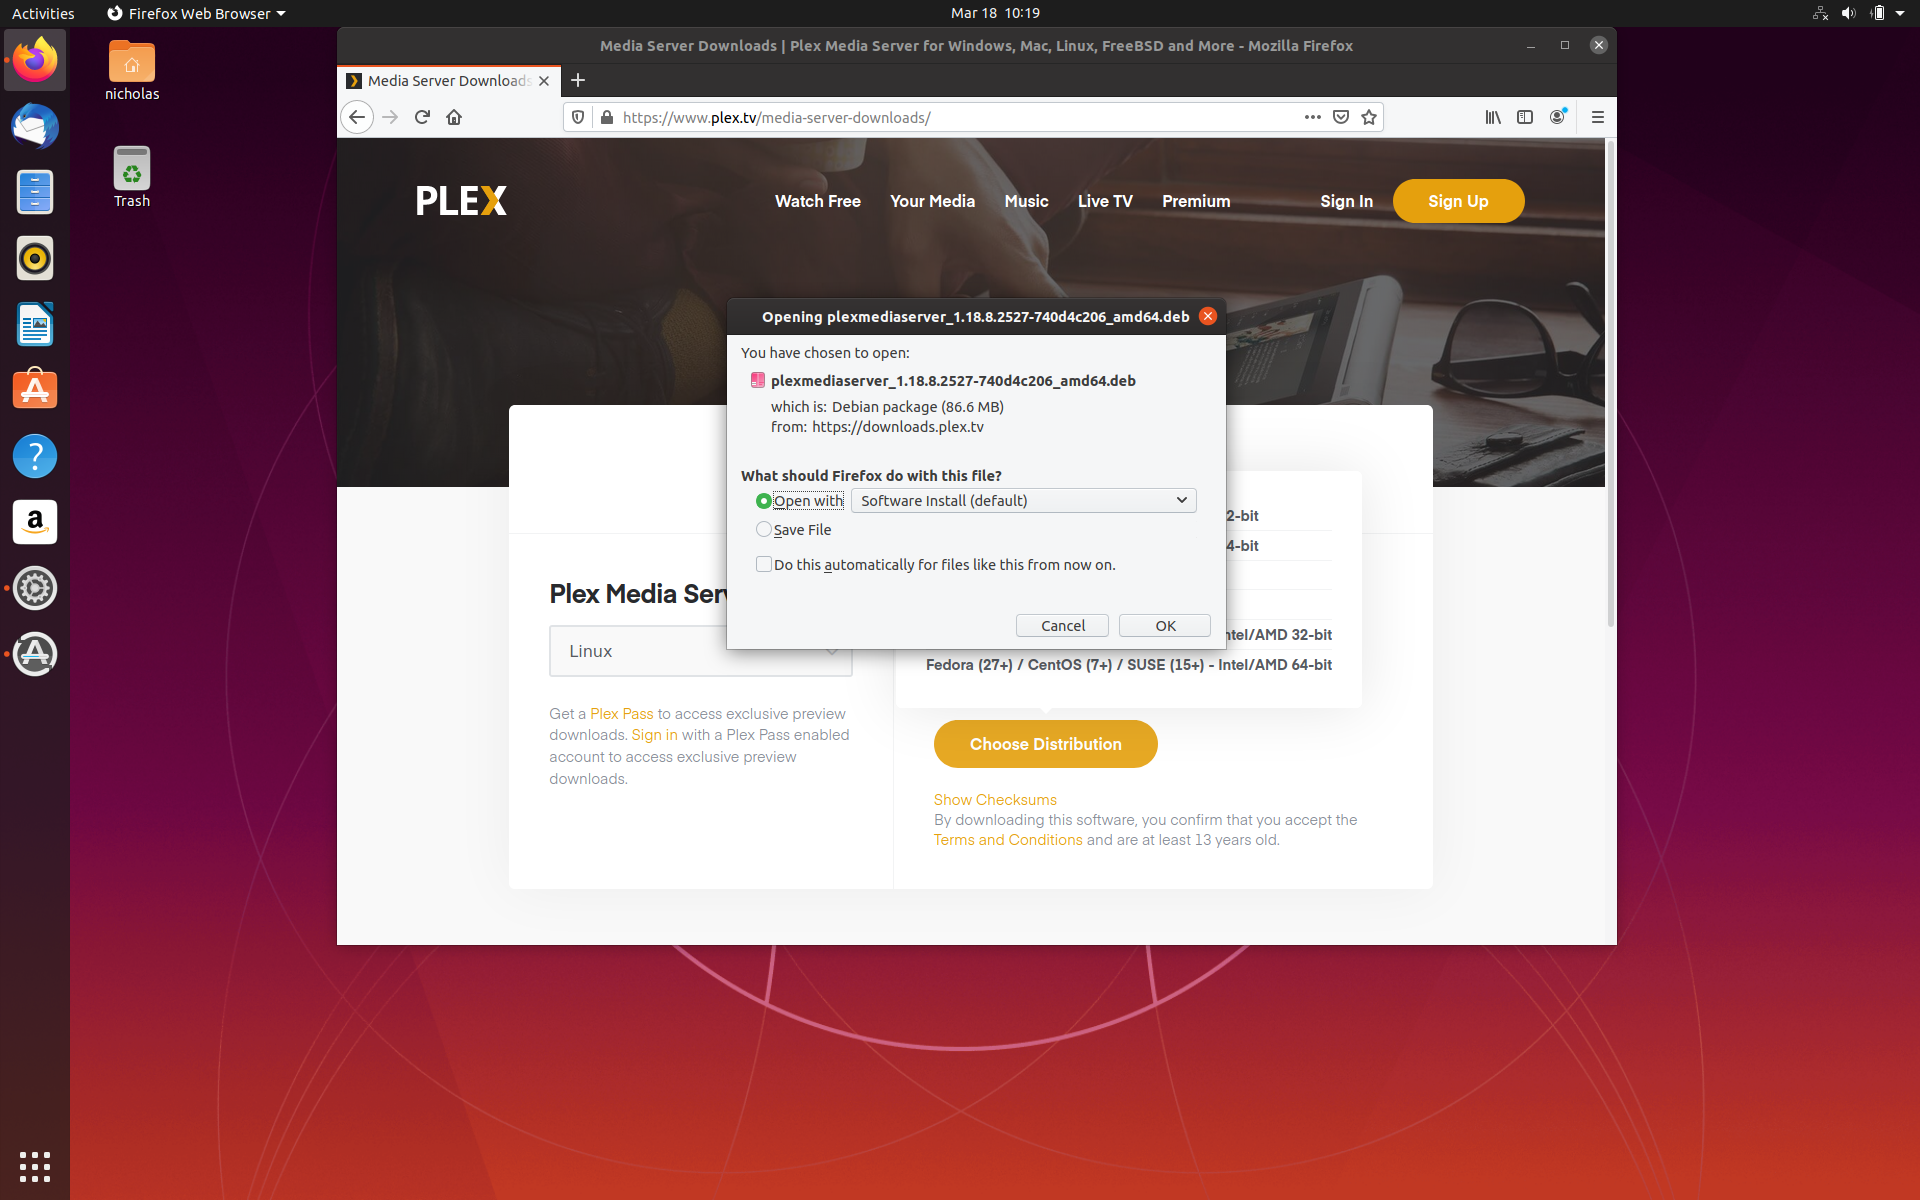
First go to this link to download Plex: https://www.plex.tv/media-server-downloads/
-
Select Linux then click Choose Distribution. Click your Ubuntu version. If you have the latest version, just go with the latest version Plex has listed.
-
Once it’s downloaded click the package and select “Open With - Software Installer”. Click “Ok”.
-
Once Plex is installed, locate your app drawer by going to the bottom of your dock on the left side of your desktop and click the set of squares. This will bring you to your app drawer where all your Ubuntu apps are accessed. Scroll down till you find Plex Media Server.
-
Click Plex Media Server to be directed to the web interface where you can begin syncing your content with Plex.
Terminal (Command Window)
Another way to install Plex is via terminal. While the terminal can be confusing for certain tasks when you are new to Linux, many long-term Linux users enjoy using the terminal because of its sheer number of capabilities when maneuvering around the Linux operating system.
Installing Plex is a great way to get comfortable with one of the most useful commands on Ubuntu which is Sudo apt-get install. Sudo apt-get install is the command on Ubuntu that will let you install apps even from the web without downloading a package. It’s one of the most powerful and convenient tools on Linux.
-
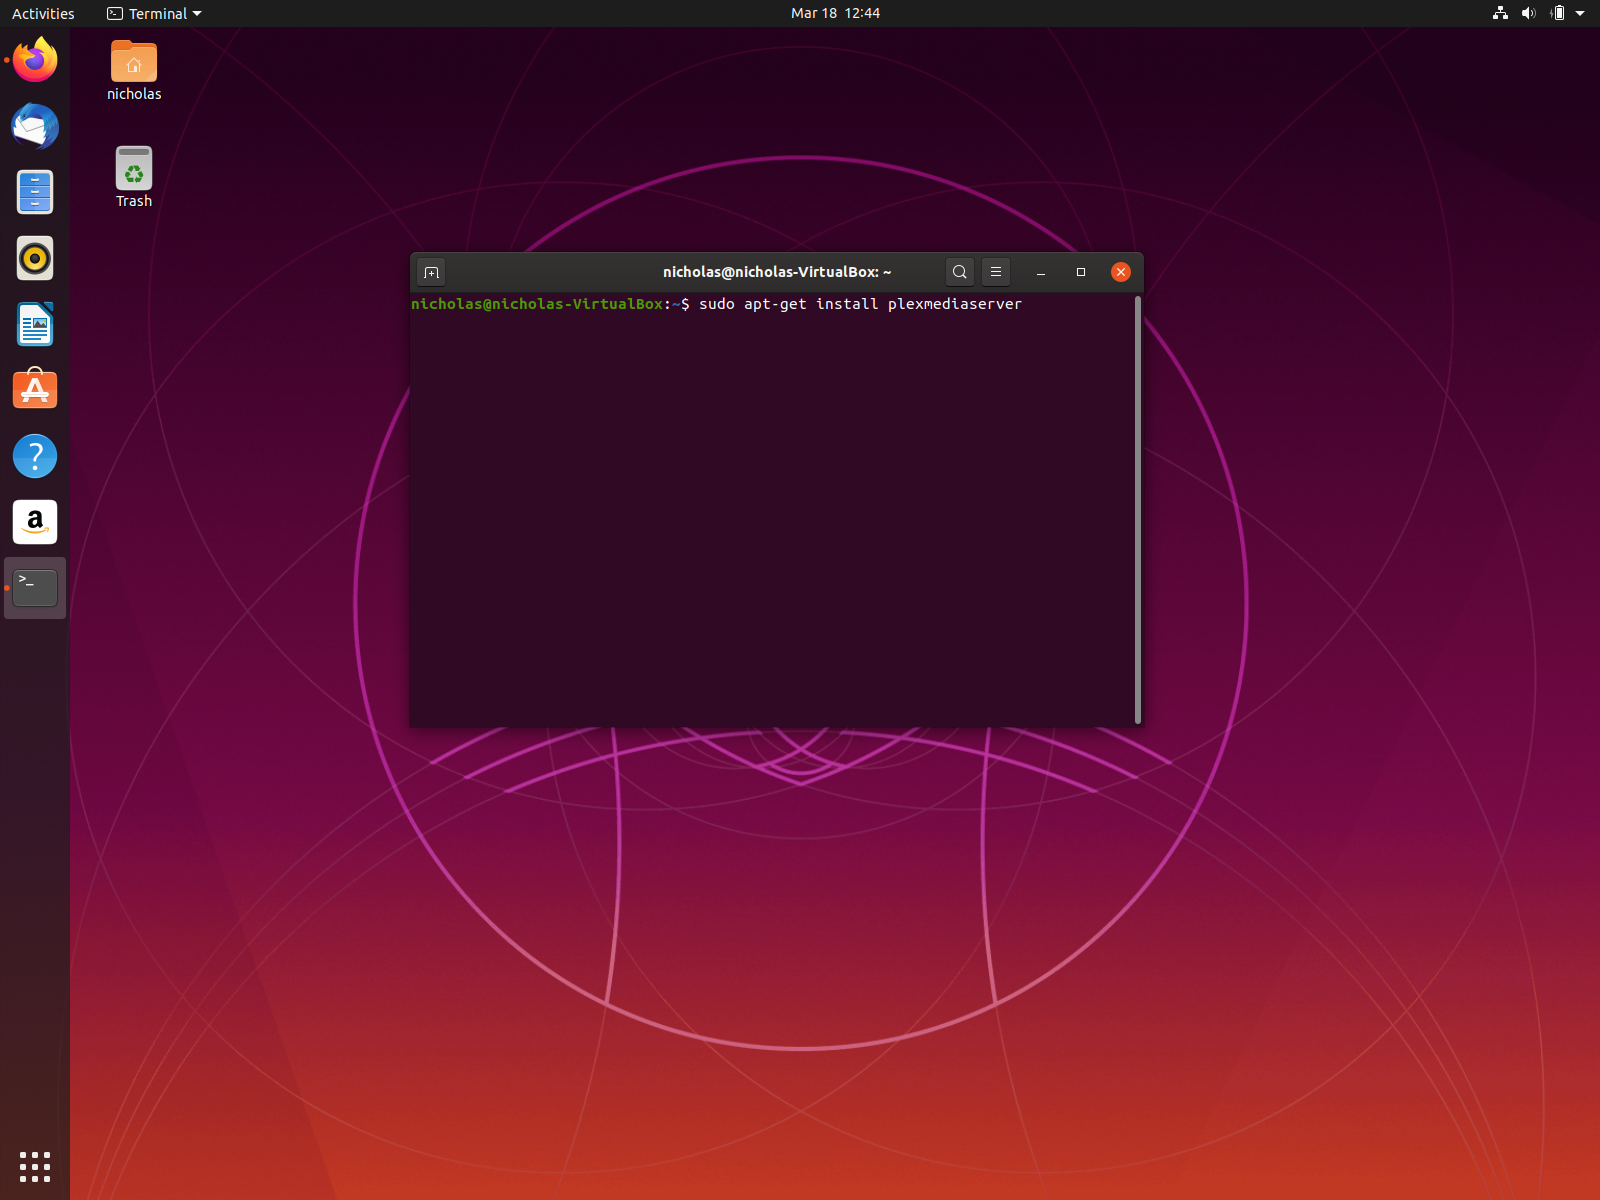
First, go to your app drawer and search for “terminal”. The terminal might not be visible from the normal selection of apps. If not, go to the white search bar and type in “terminal” and it will show up. Click on the terminal which should bring you to a black box ready for you to type a command.
-
First, update your web repositories by typing
sudo apt-get update -
Then, type
sudo apt-get install plexmediaserver
-
If you input the command correctly, you should be able to go to your app drawer and see the Plex Media Server icon.

-
Click the Plex Media Server icon which will bring you to the Plex web interface where you can begin to sync your media with Plex
Install via Snapd
One of the greatest challenges Linux desktops face is the lack of a simple, universal way to install applications and keep them updated across the near-infinite number of Linux distributions. Canonical, the company behind Ubuntu, developed Snapd in response.
Snapd is a package install management software that can be installed over a variety of Linux distributions and helps to keep apps consistently updated and compatible amongst different Linux distributions even beyond Ubuntu. In fact, it is the primary form of installing an application on newer Ubuntu versions now.
Though installing Snapd is an extra step and isn’t necessarily required if you just want to run a plex server, Snapd and Flatpak (another popular install management program) are arguably the future for Linux app installation. They make app installation uniform and allow apps to be uploaded and updated easily across app stores as well as implement a simple install command in the terminal.
If you want to try Snapd here’s how you install Snapd and Plex via Snapd on Ubuntu.
-
In the terminal type
sudo apt-get update. This will update the files you can download from the internet.
-
Then type:
Sudo apt install Snapd
-
Finally,
sudo snap install plexmediaserver
-
Plex will now be installed as a Snap file and can be accessed via the app drawer. Scroll down till you find the Plex Media Server icon. Click it and go to the Plex web interface and start syncing your media with Plex.
Setting up your Plex Media Server to Sync Content with Ubuntu
-
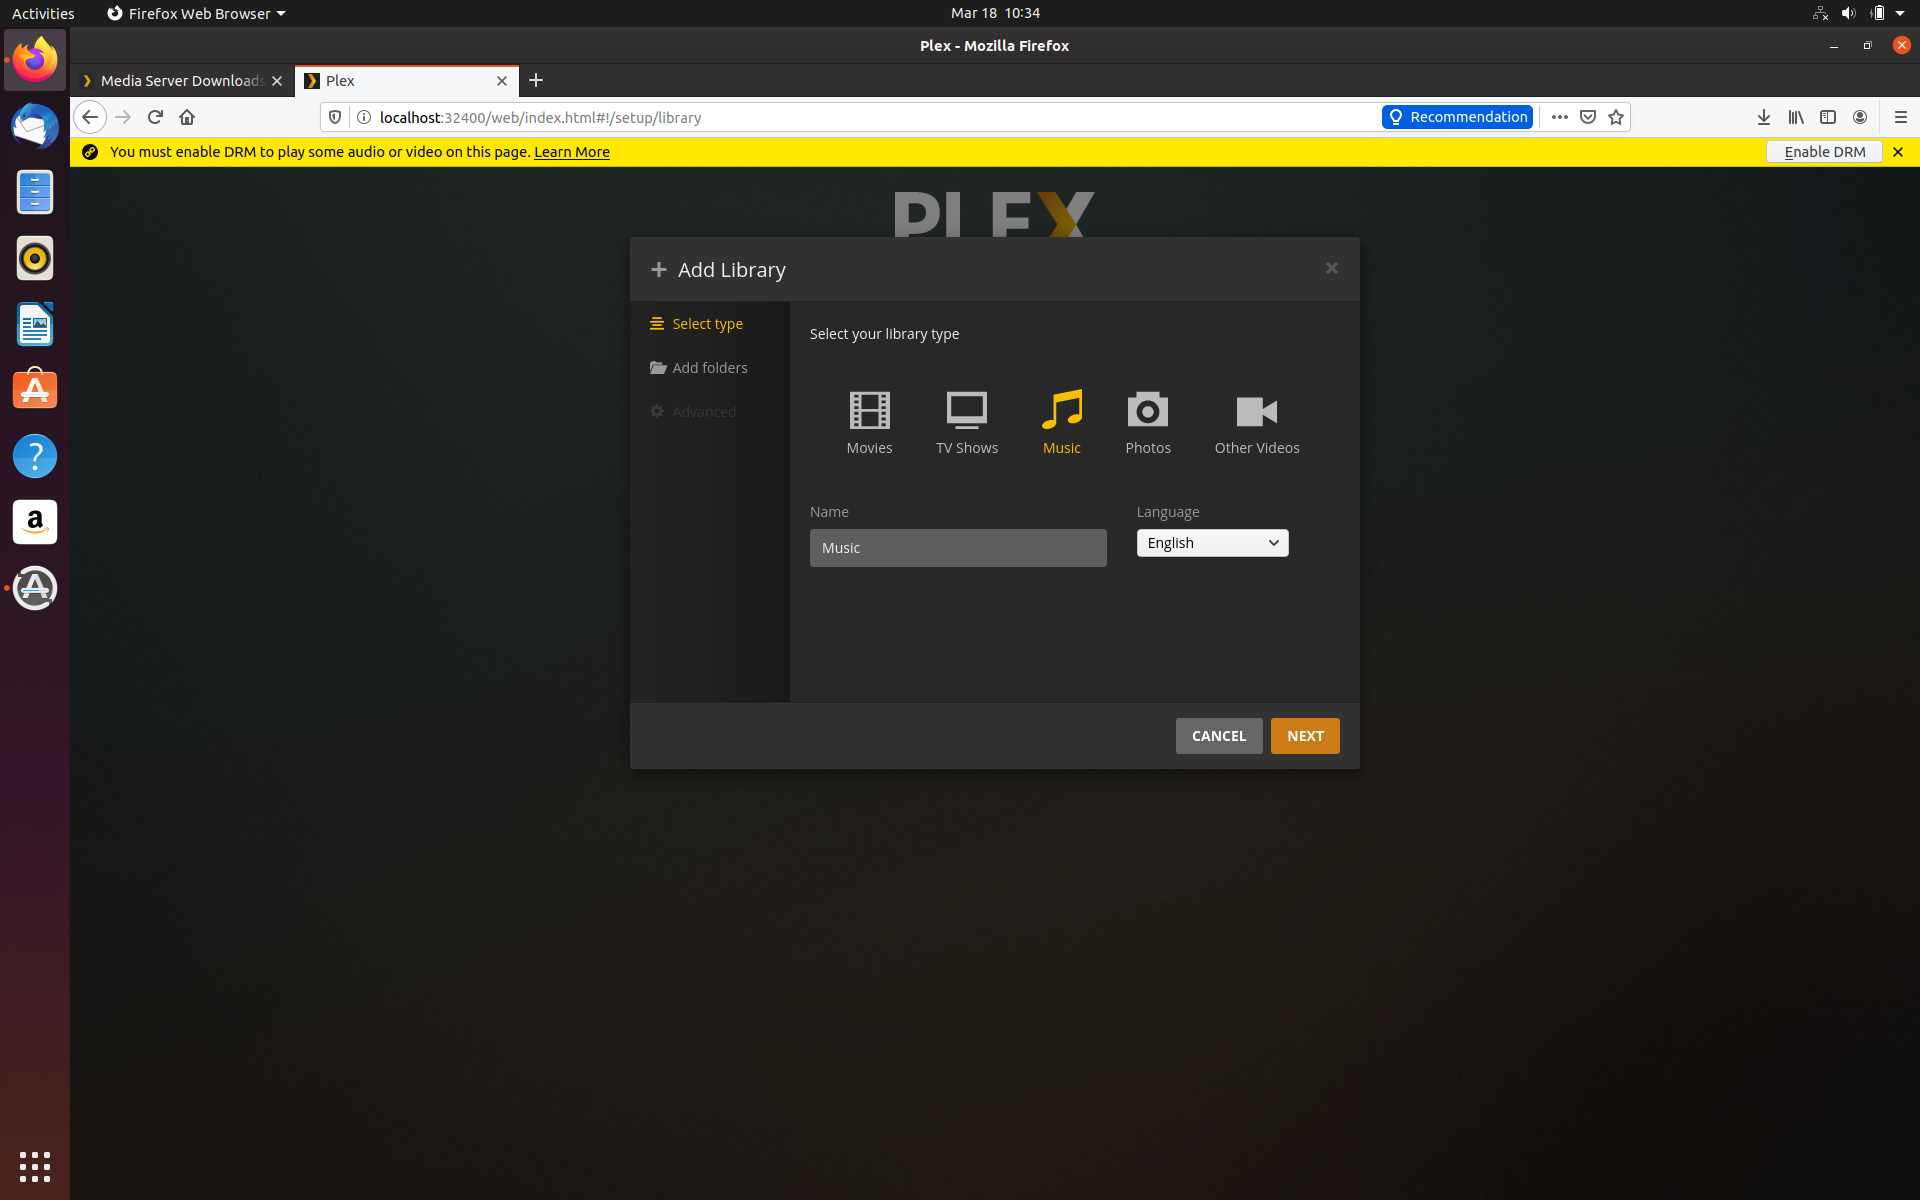
On the Server Setup page, you’re going to want to click Add Library which will connect Plex with your media folder directories which it will use as server directories.
-
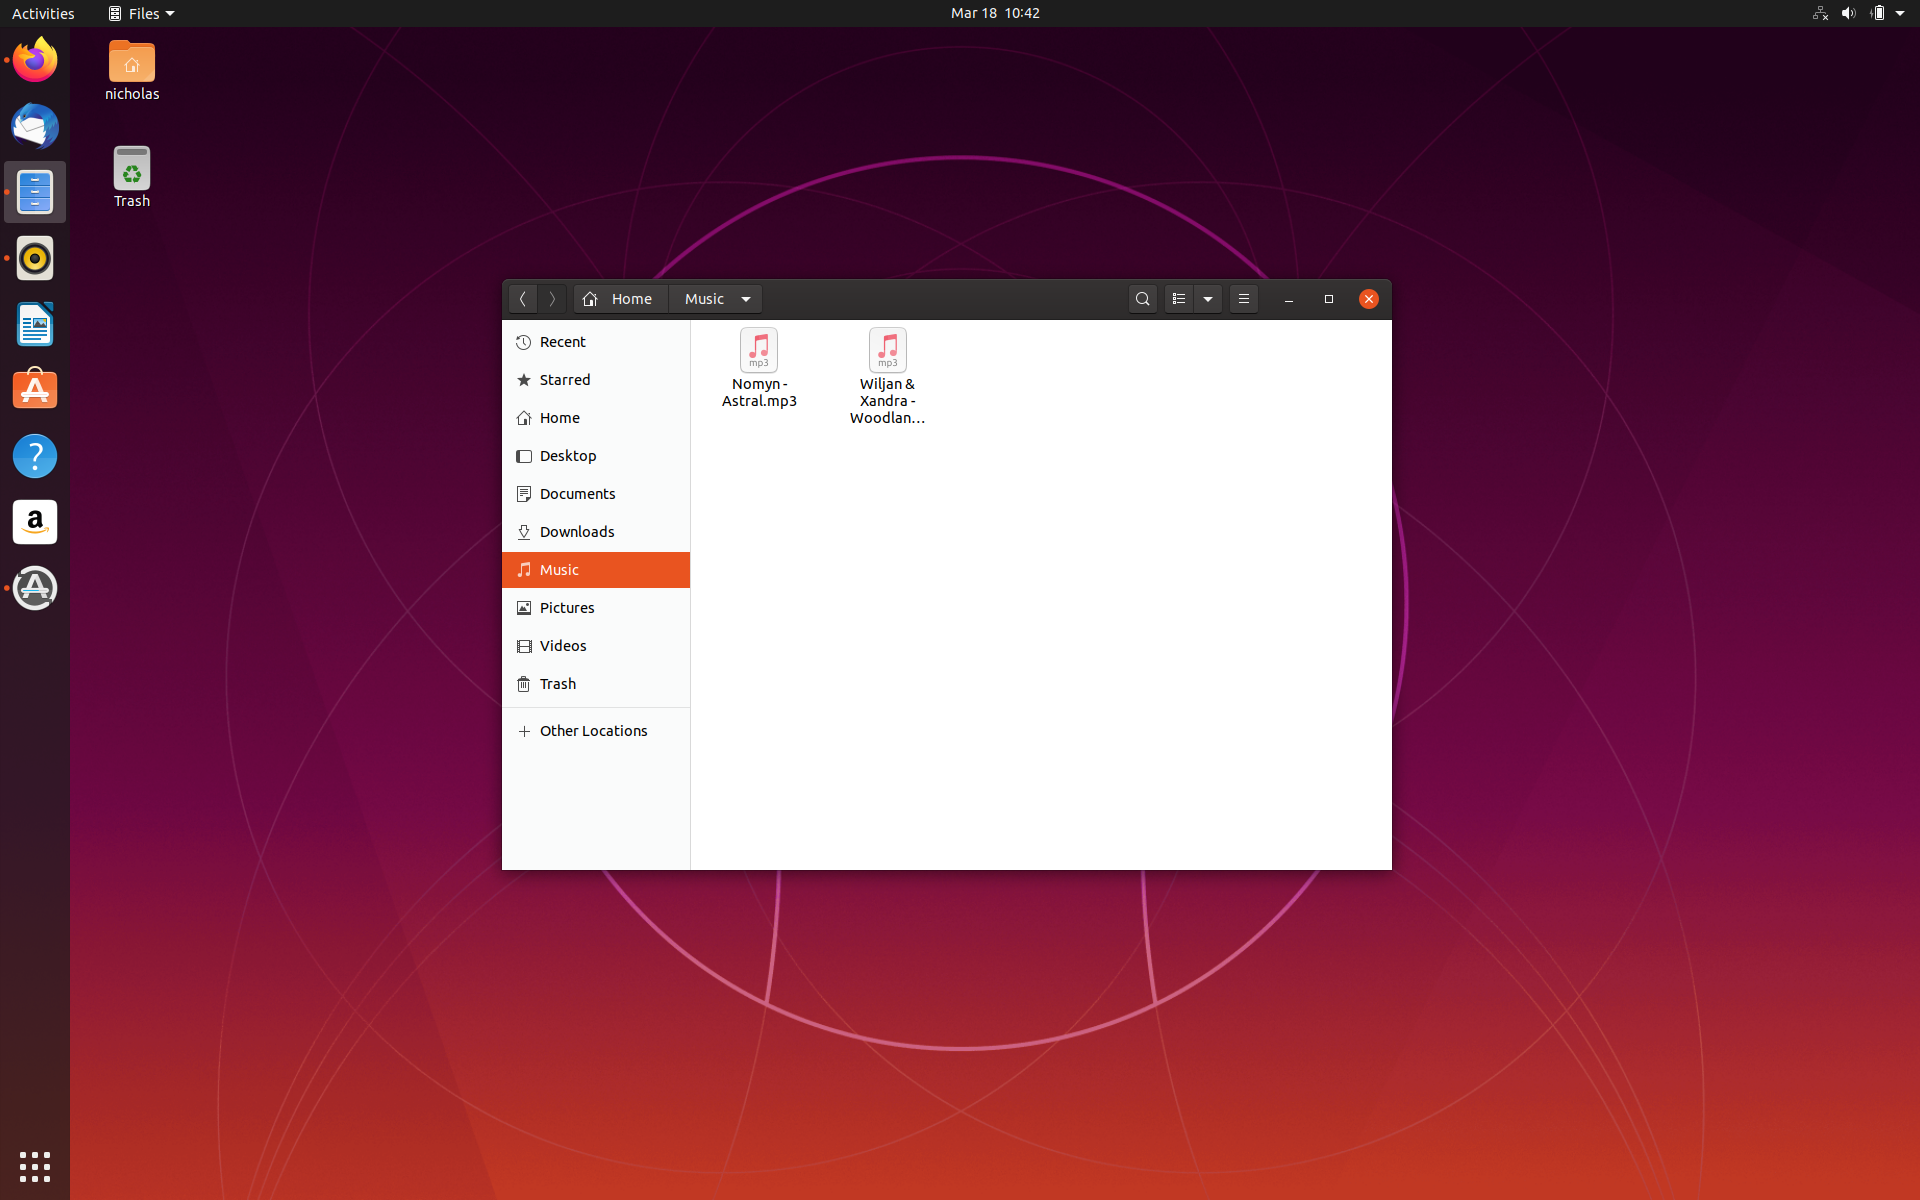
In this example, we’re going to install our music directory. First, click the music Icon which should turn yellow if properly selected. This will tell Plex that the directory you are connecting is related to music. (You do have the option to rename it if you wish).
-
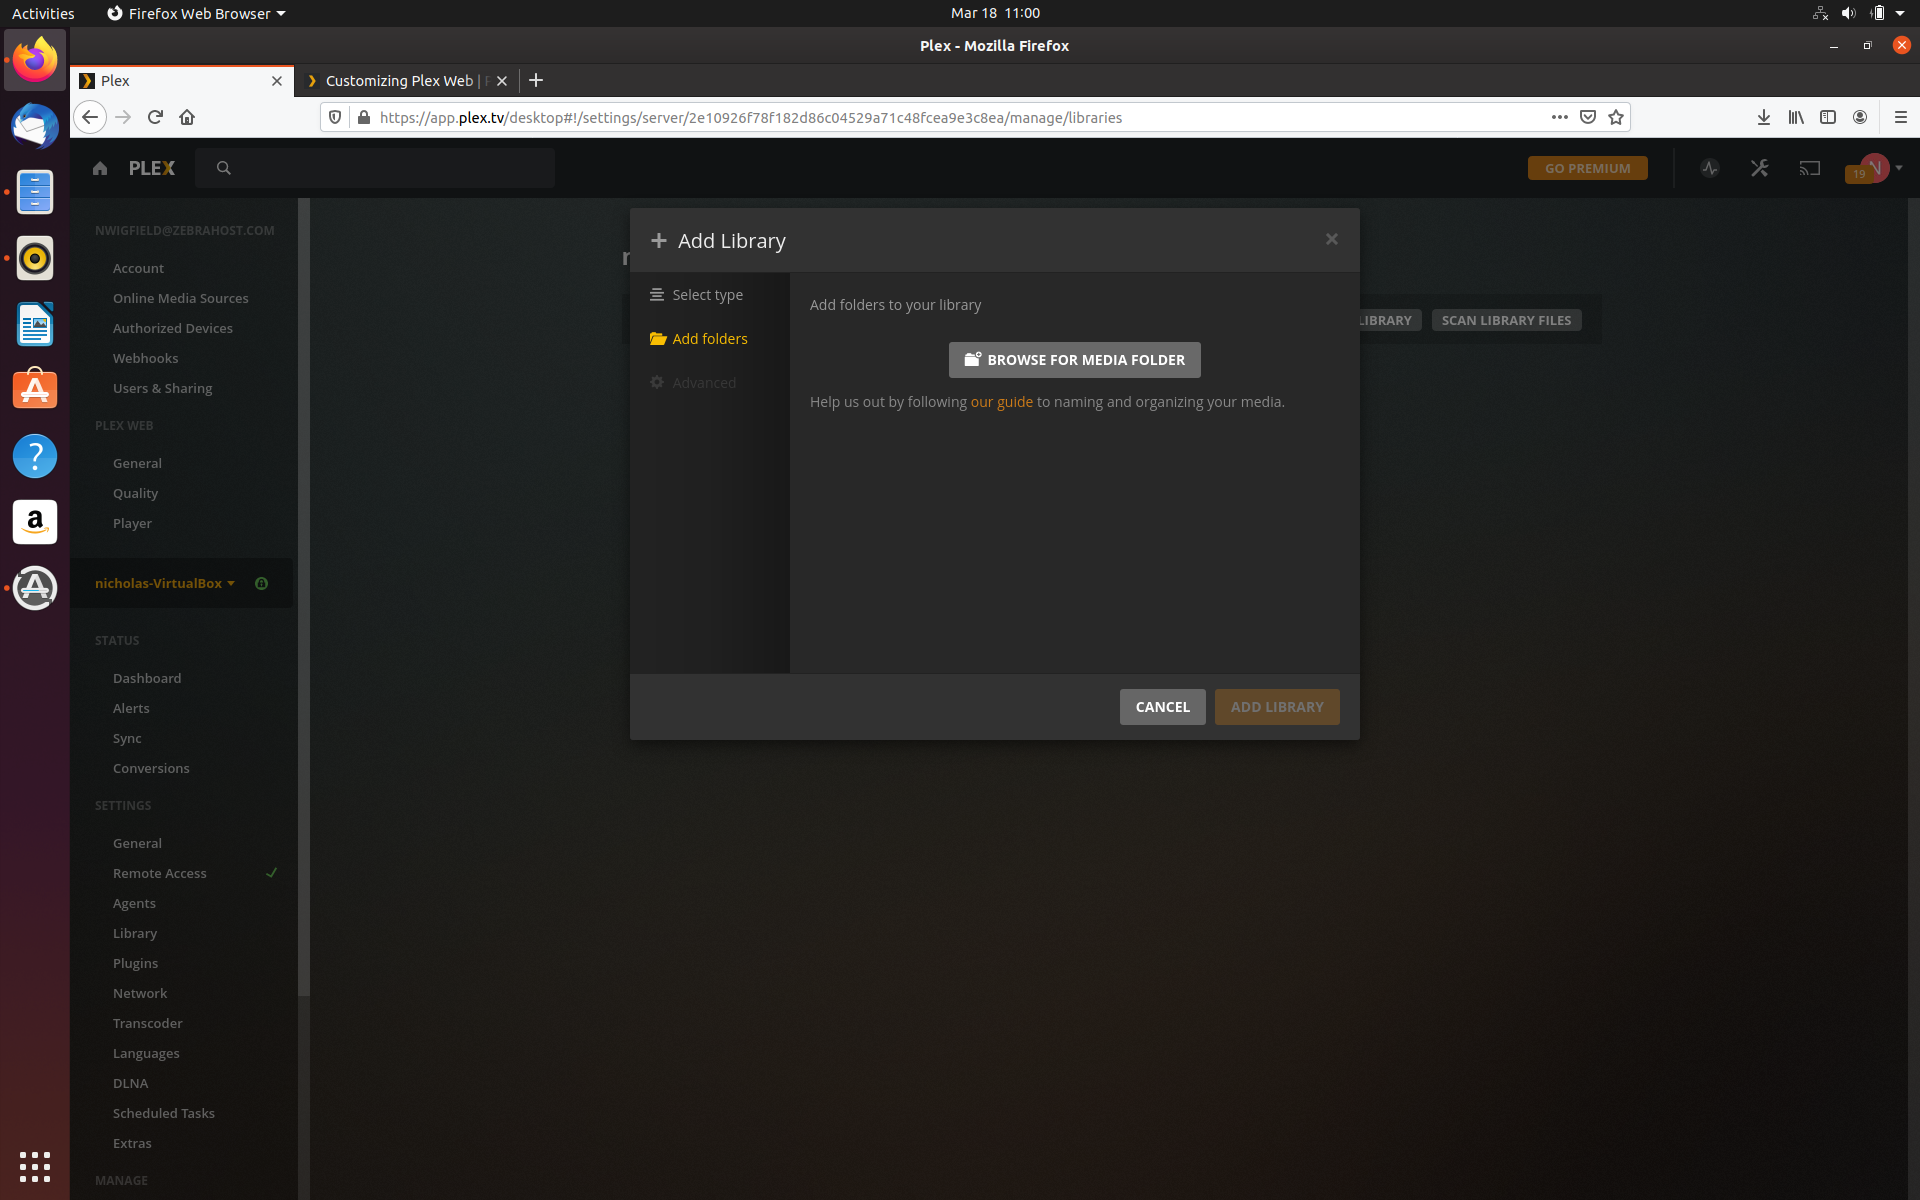
Next, you will be asked to browse for a media folder. Click this and you will be brought to a directory. You going to want to go all the way back to the / folder so that you can see the music folder. Scroll through the right column to locate the Music folder. Just click the music folder then click Add.

-
download a song, as long as your server is online that same song should show up anywhere you have access to Plex.
-
To add your photos, do that same thing but instead add the Photos library type then repeat the same steps to locate your pictures folder and like music, it will sync with Plex.

-
You should be all set to go with every library type you wanted to sync with Plex. But sometimes those library types aren’t immediately shown on Plex’s sidebar for easy access and are instead hidden. Scroll to the bottom of this article to see how to fix this if it is happening to your server on first use.
You should now have your media ready to sync with Plex. Anything added to the folders you’re syncing with Plex will also sync across any platform you have Plex installed on as long as your Plex server is online. If you shut off your server or it is offline for any reason – Plex will tell you it cannot find your media and you will simply have to turn on your server again to access your media.
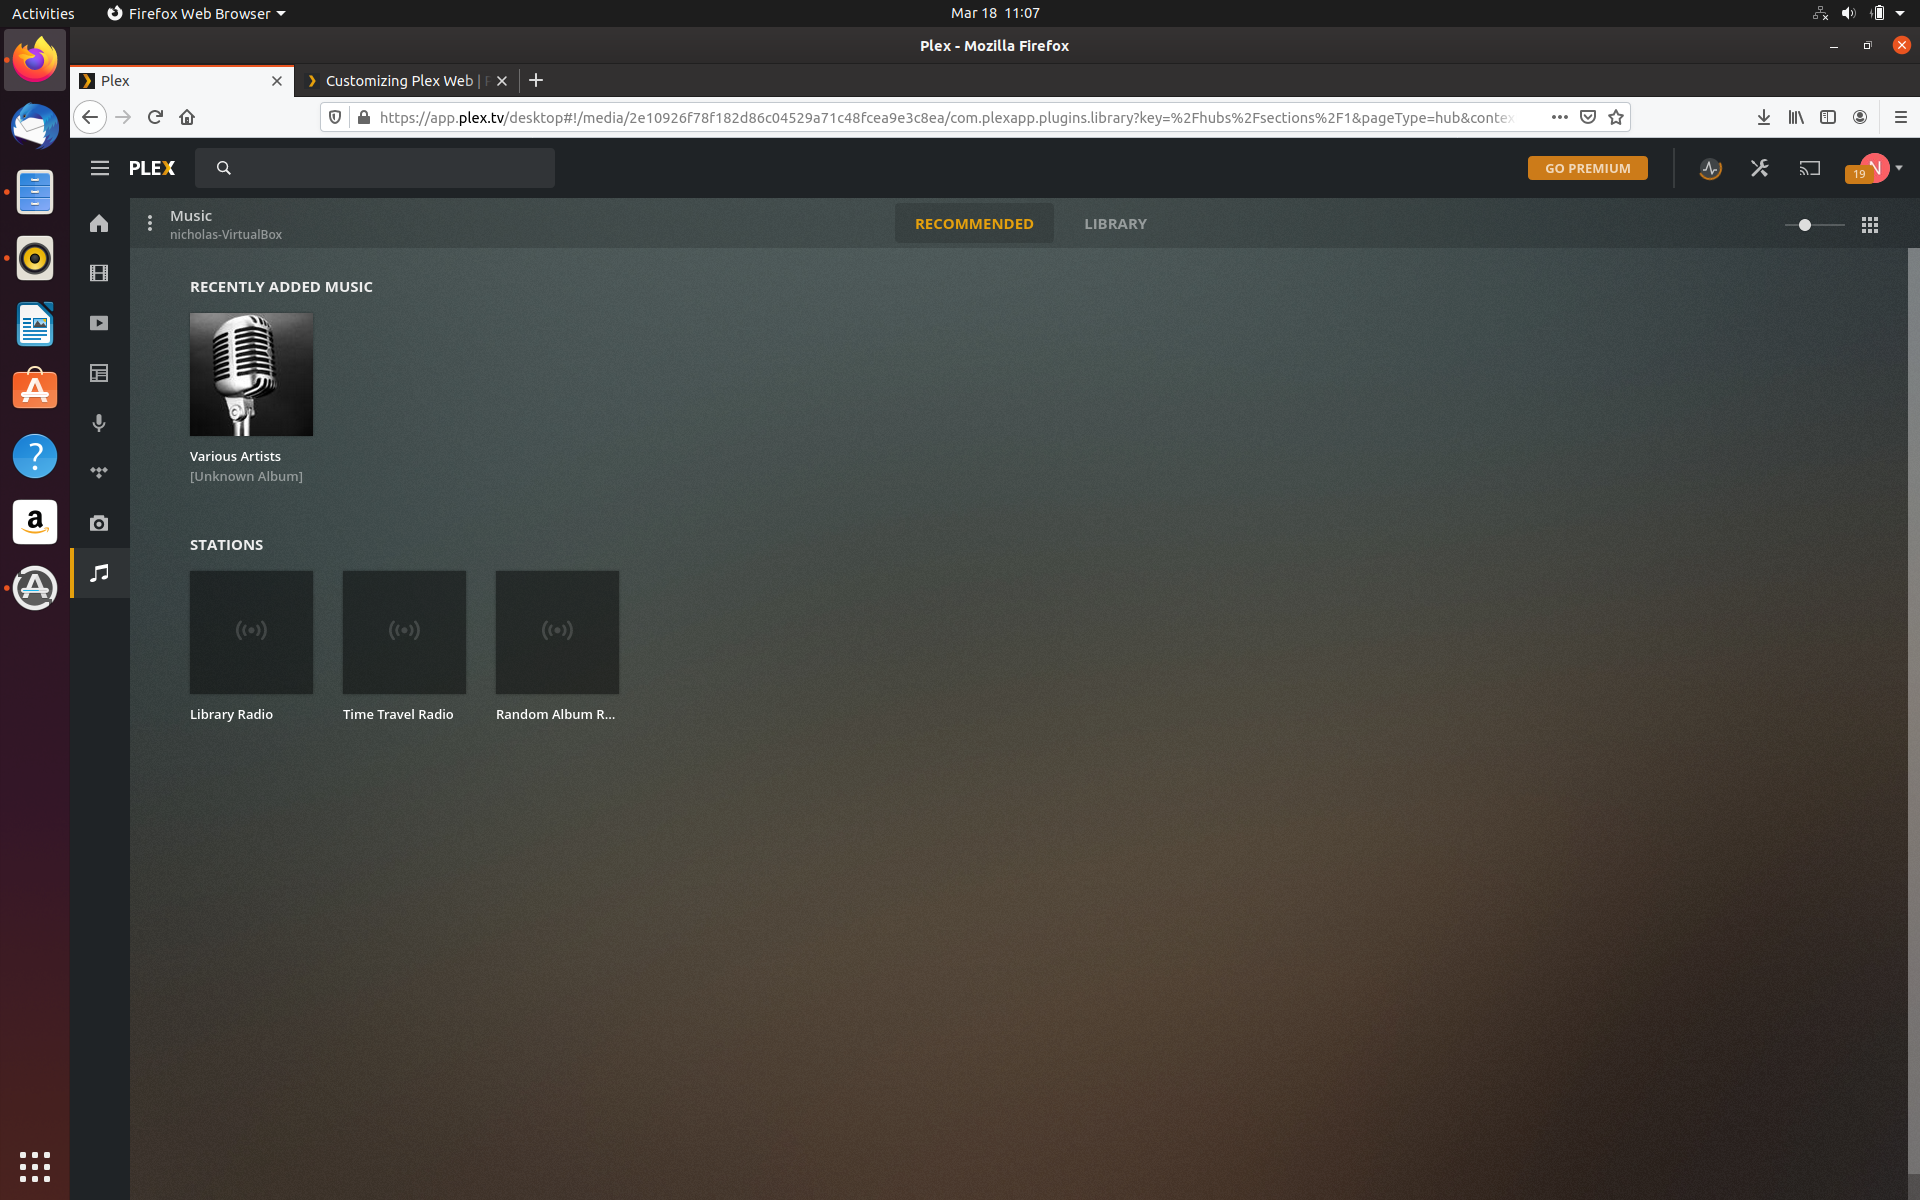
Here’s what the music and photos will look like in Plex once synced.

After you see all your media in Plex that you want to be synced, try going to either the Plex app on your phone or another computer to login to your Plex account. If your Plex server is set up correctly and is online, all the media you’ve synced in these steps will be accessible.
How to customize your Sidebar
Plex doesn’t always come pre-configure properly to make your music and pictures accessible from the sidebar. After setting up your Plex Media Server you might have to go in and manually add these. To do this:
- Go to your media server name. Click on it.
- Underneath, you should see options such as music, pictures, or anything else not automatically added to your sidebar underneath.
- Select the media folder you wish to add and click the 2 dots to the right. you should see the option to pin that folder.
- Once the folder is pinned, it will now be accessible from the sidebar when you login to your Plex Media Server.
As you can see,the music and photos icons are now at the bottom of the sidebar when accessing the Plex media server.
Common Problems with Plex Servers
- Cannot access server from a virtual machine despite the machine being turned on.
You need to make sure your virtual machine can connect to the internet. To start, go to your VM network settings in your hypervisor and make sure the VM can use the host machine’s connection.
Then ping the VMs IP to make sure there is a response.
You will also need to make sure it is connected to the proper port (this is typically port 22).
This will allow you to access the web through your virtual machine which is typically segregated from the main system thus not allowing you to connect your Plex server.
Another solution is to forward the server’s IP through your router.
- Remote Access Disabled.
Remote access is what allows you to access your Plex server beyond your home network. This can be accessed by clicking on your server name in the Plex sidebar then going to the remote access tab and enabling remote access.
There are a variety of reasons remote access is disabled.
First, try to manually re-enable remote access in your plex server as sometimes the service can glitch.
Remote access is what allows you to access your Plex server beyond your home network. This can be accessed by clicking on your server name in the Plex sidebar then going to the remote access tab and enabling remote access.
If remote access is still not working you might have to specify the port so that an exception can be made in your firewall.
- In Plex remote access check the box that says “specify public port”. The public port for Plex is 32400.
- Go to your firewall settings and create a new rule that will allow for port 32400 to be exempt so that Plex can get through the firewall.
The unfortunate reality of network connectivity is that there are numerous possible problems and solutions to allowing network access. These are only a few examples of solutions that users will sometimes find solves their remote access problem.
If none of these works there are numerous resources online that users can turn to such as forums, Reddit, and pages from cloud companies that write about issues involving network connectivity.
If you are an individual setting up a plex server on a dedicated machine (like an old laptop or desktop) that you intend to keep turned on, you may not come across issues such as the ones listed because Plex has direct access to the internet. But if you are using a virtual machine, a hosting provider, or a firewall you may come across issues.
If you are using a hosting provider, work with them to make sure Plex can access the internet through the VM it is installed on. Your hosting provider should make sure to provision a server that can be accessed remotely and will not have issues accessing the internet.
ZebraHost has 24/7/365 customer support via ticket, email, or phone. Meaning that if you are hosting with us you can contact us at any time and our team will be happy to assist you with your server.
If you have questions, we’re happy to be reached at [email protected].